Home>Storage Ideas>A Step-By-Step Guide To DIY Walk In Closet

Storage Ideas
A Step-By-Step Guide To DIY Walk In Closet
Modified: October 18, 2024
A walk-in closet is a must-have for every homeowner looking for a practical, effective and aesthetically pleasing storage unit. Here's how to DIY your own!
(Many of the links in this article redirect to a specific reviewed product. Your purchase of these products through affiliate links helps to generate commission for Storables.com, at no extra cost. Learn more)
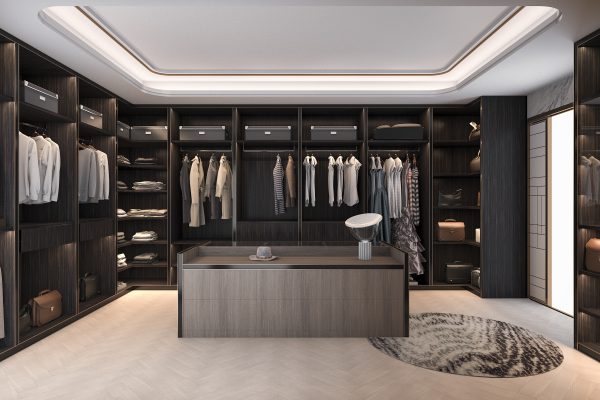
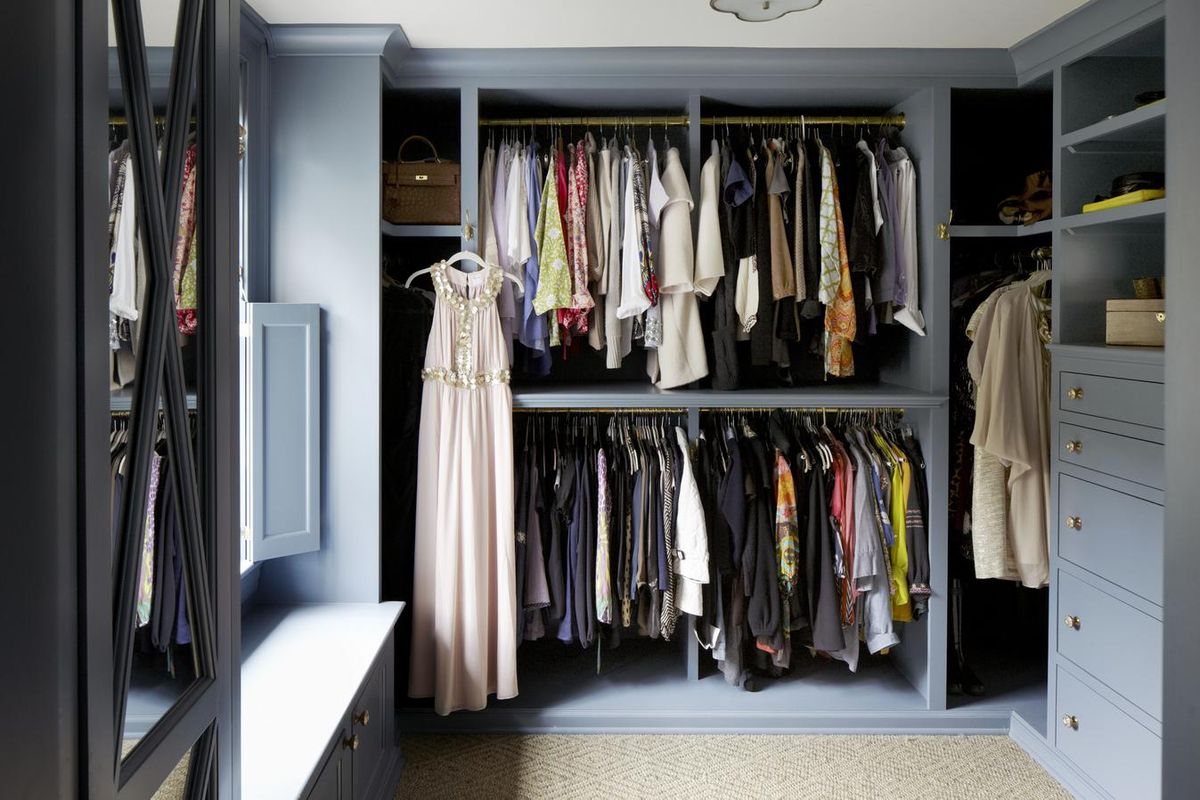
Are you tired of cramming your expensive dresses into a small and completely inaccessible closet? Do you spend hours every day searching for your favorite pants just to find them rolled up in the corner of an overloaded wardrobe? If yes, then this article is the solution to all your storage problems. A walk-in closet is a must-have for every homeowner looking for a practical, effective and aesthetically pleasing storage unit.
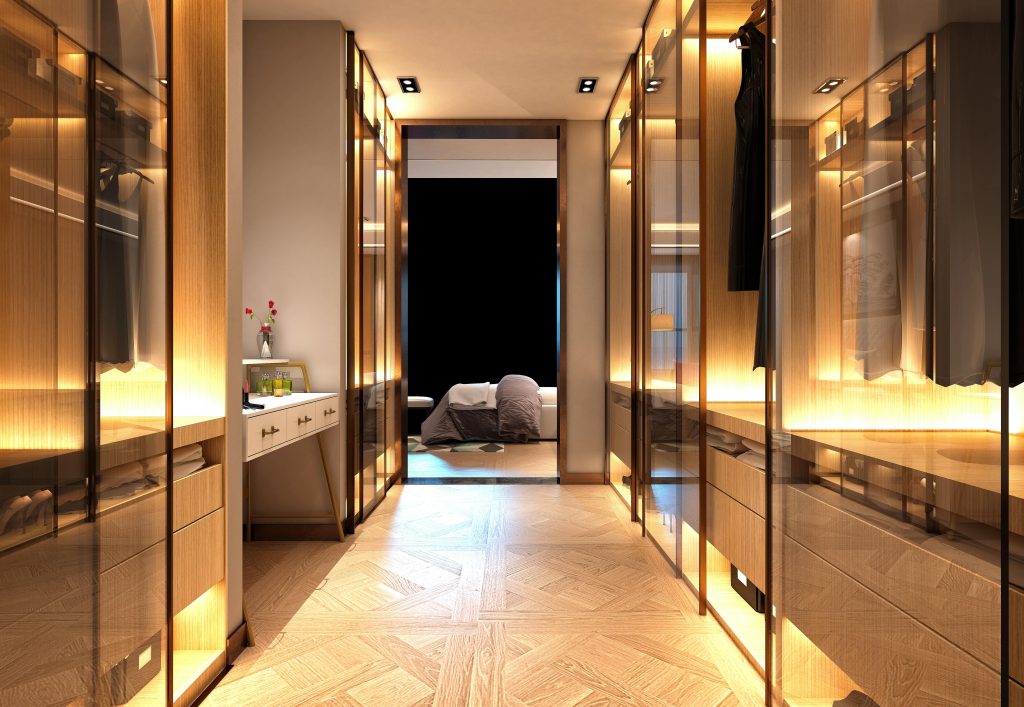
A walk-in wardrobe instantly adds a touch of finesse to your house whilst fulfilling its purpose. In addition to being an effective storage unit, a walk-in closet also provides plenty of privacy. It offers a completely isolated space within your bedroom where you can get dressed peacefully without the fear of someone barging in. A carefully designed wardrobe can do wonders for the interior décor of your bedroom.
With a well-planned walk-in closet, you wouldn’t need to cover the odd nook and crannies of your room with bland showpieces and wall coverings. Due to the versatile and customizable nature of these storage units, there is a huge number of closet designs to choose from. You can find a lot of decorative and creative walk-in closet design ideas, small walk-in closet ideas DIY and also walk-in closet design pictures on the Internet. In this article, we will go through the process of building a walk-in closet along with a personalized DIY closet organizer.
Advantages & Disadvantages Of A Walk-In Closet

Read more: What Is A Walk-in Closet
PROS
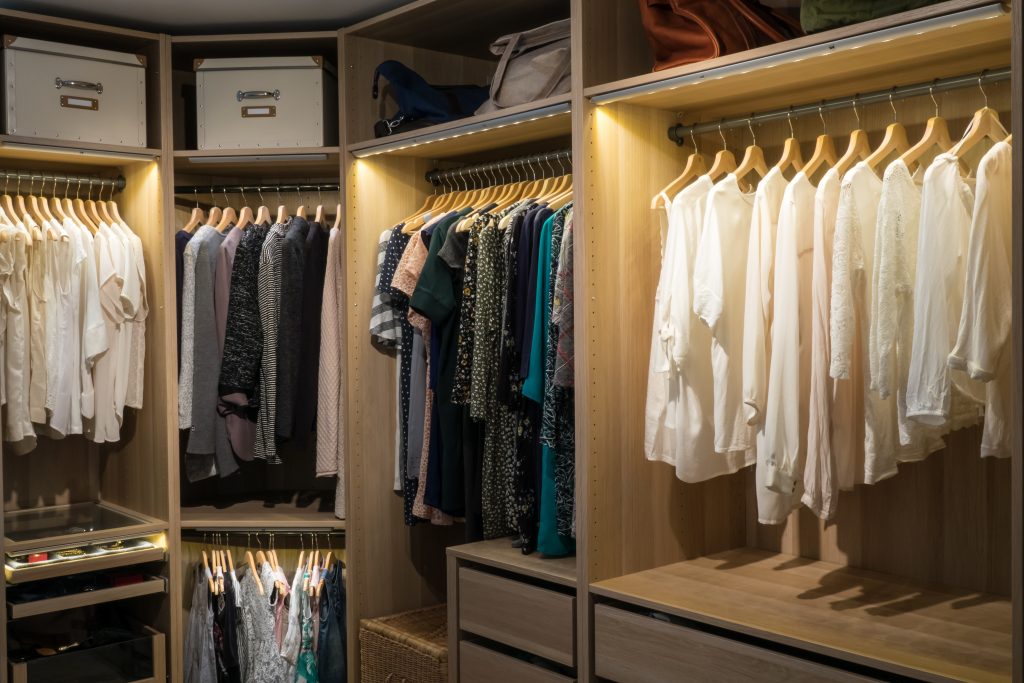
Optimal For Organization
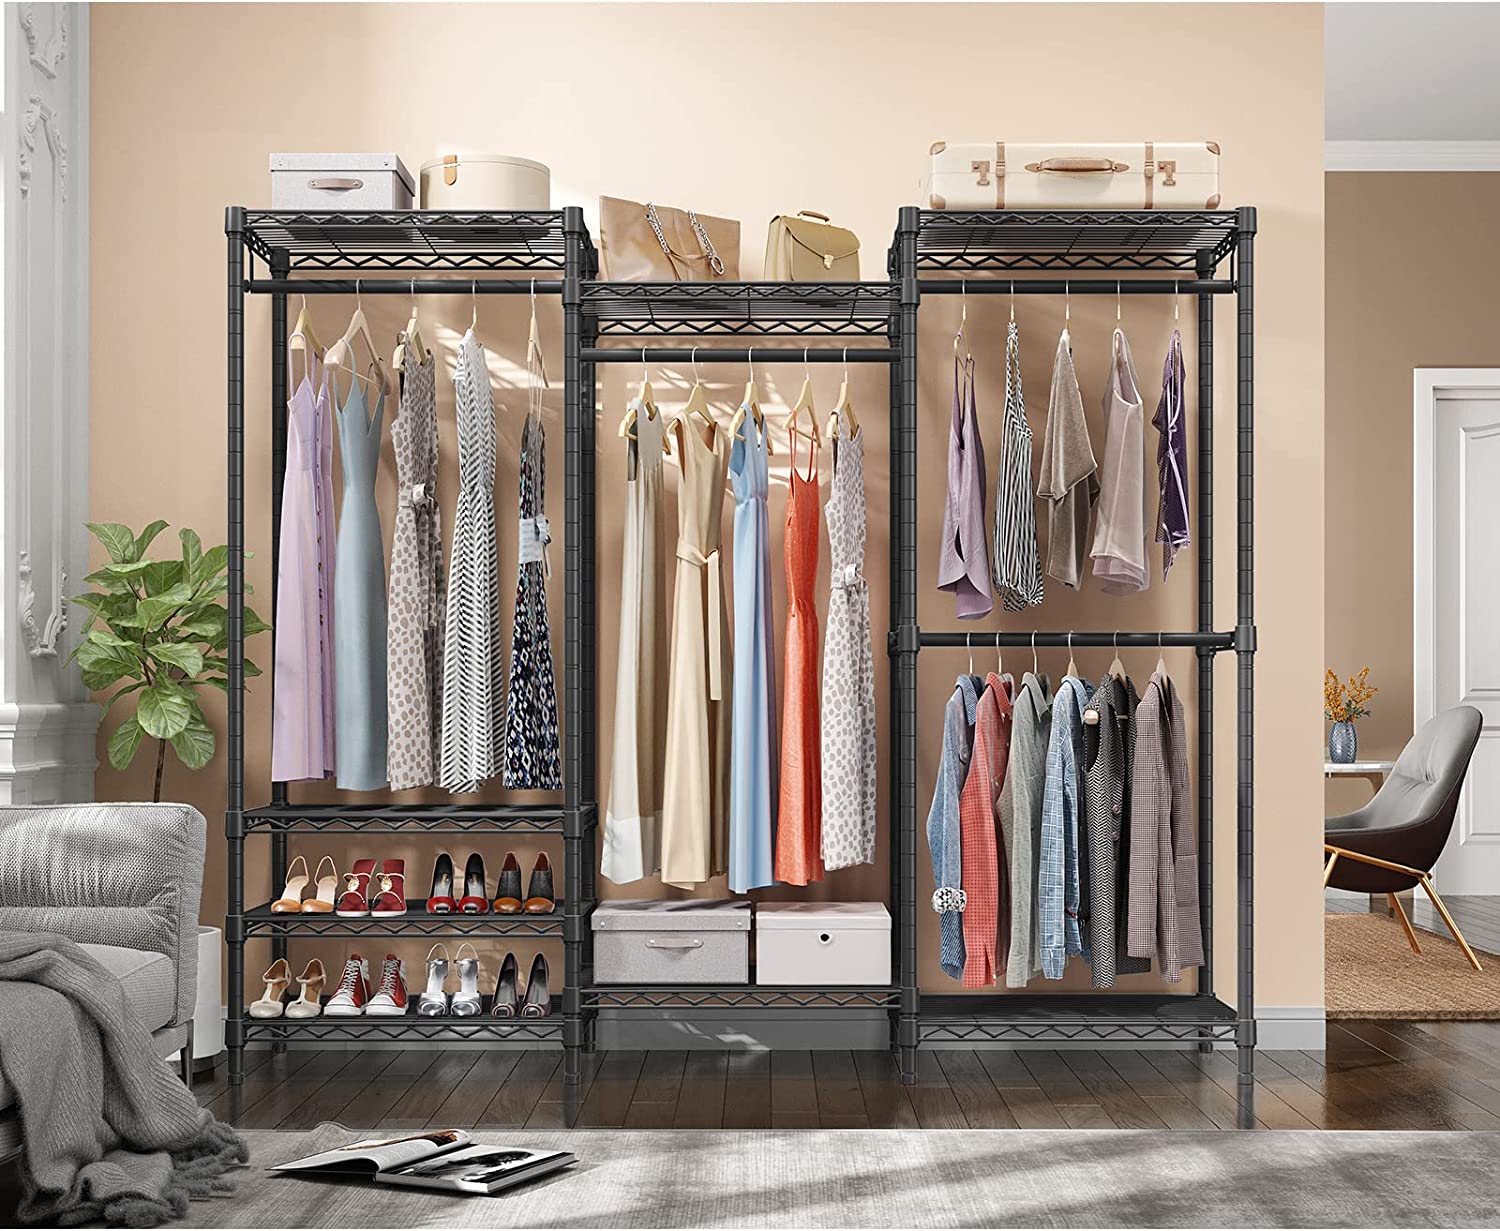
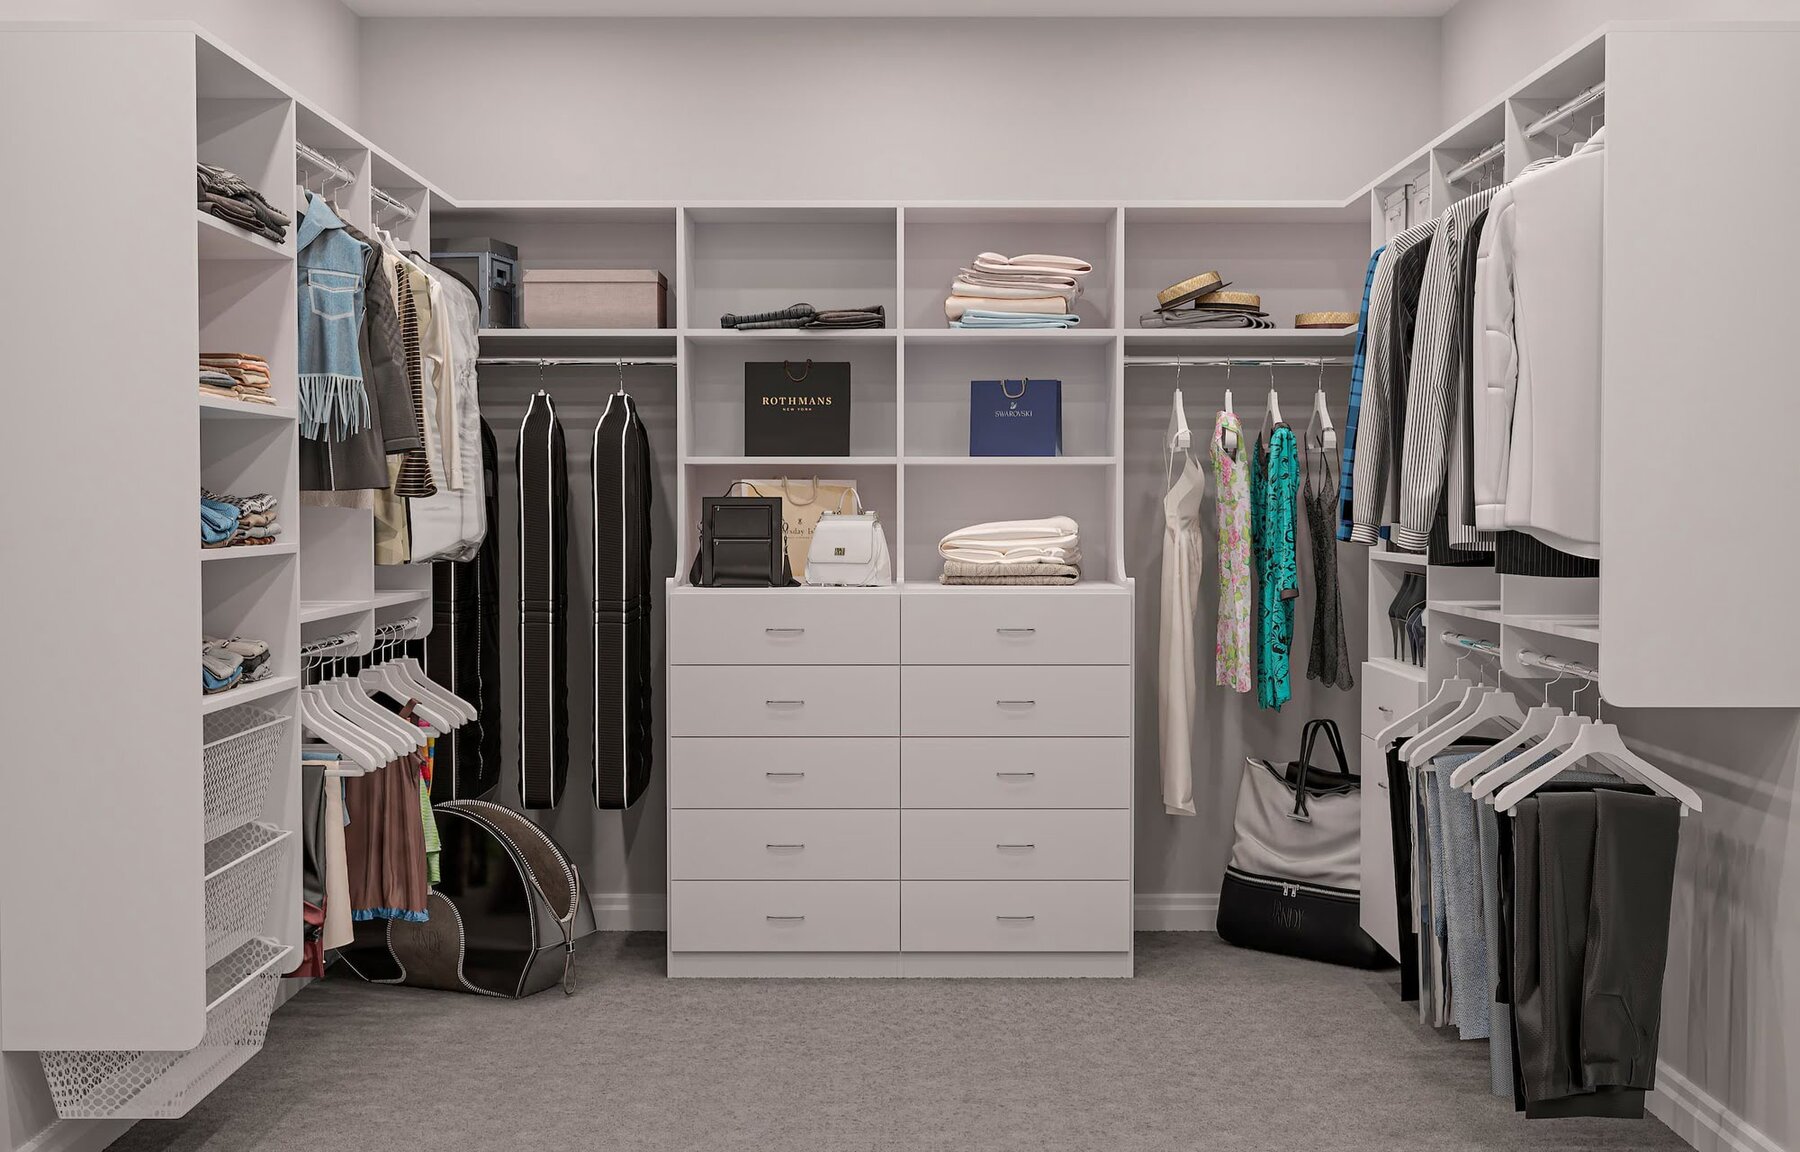
The best part about walk-in closet systems is the versatility it provides. If you are the kind of person who owns a lot of clothes, footwear, and accessories. A walk-in closet can be the answer to all your storage problems. Unlike traditional/regular closets, a walk-in closet provides you with the luxury to spread out your clothes and make them look neatly organized at the same time. Especially when you browse through the great walk-in closet designs for a master bedroom. Now you won’t need to empty the entire closet just to find the one dress you wanted to wear to a date, with a walk-in closet every piece of your clothing will be right in front of you.
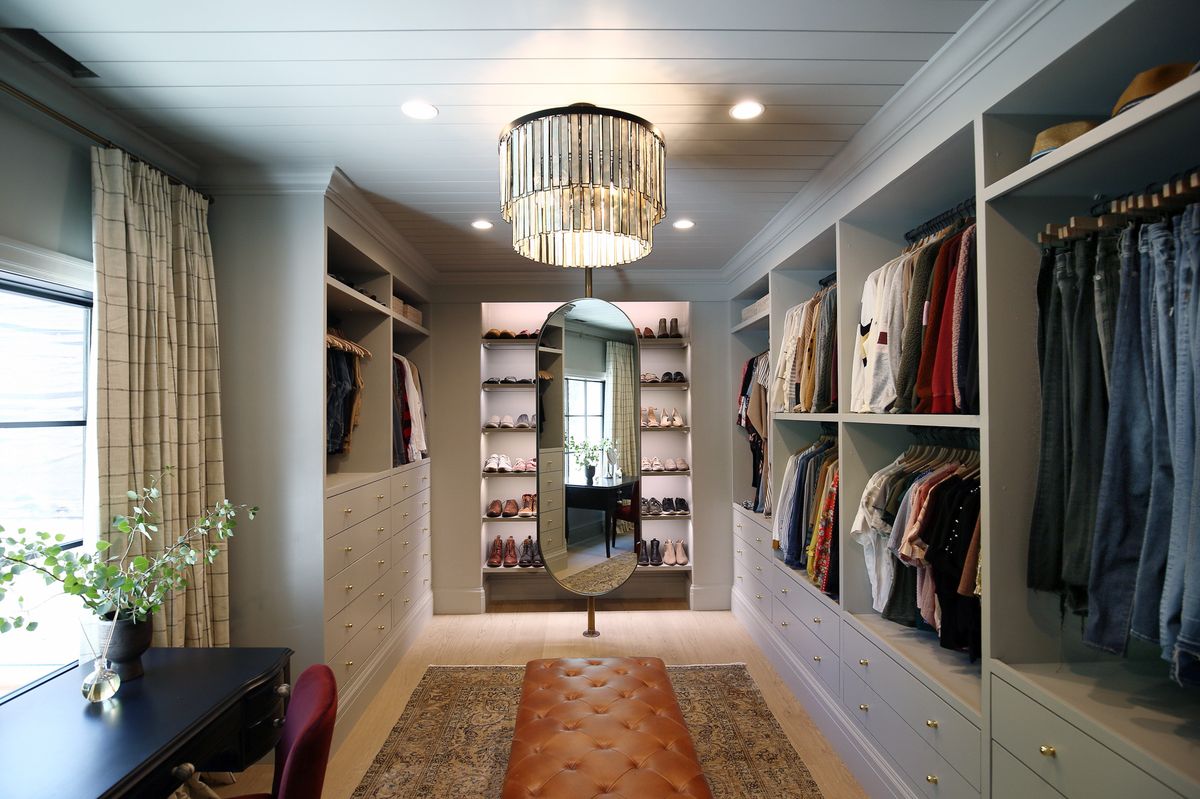
Perfect For Privacy
Another upside to a walk-in closet is the privacy it offers. If you are one of those slow dressers who hog up the bedroom while getting ready, then a walk-in closet is the right option for you. It will provide you space and the privacy to get dressed and look your best for the dinner date. A walk-in closet can also be utilized as a safe house to secure your jewelry and other valuable items.
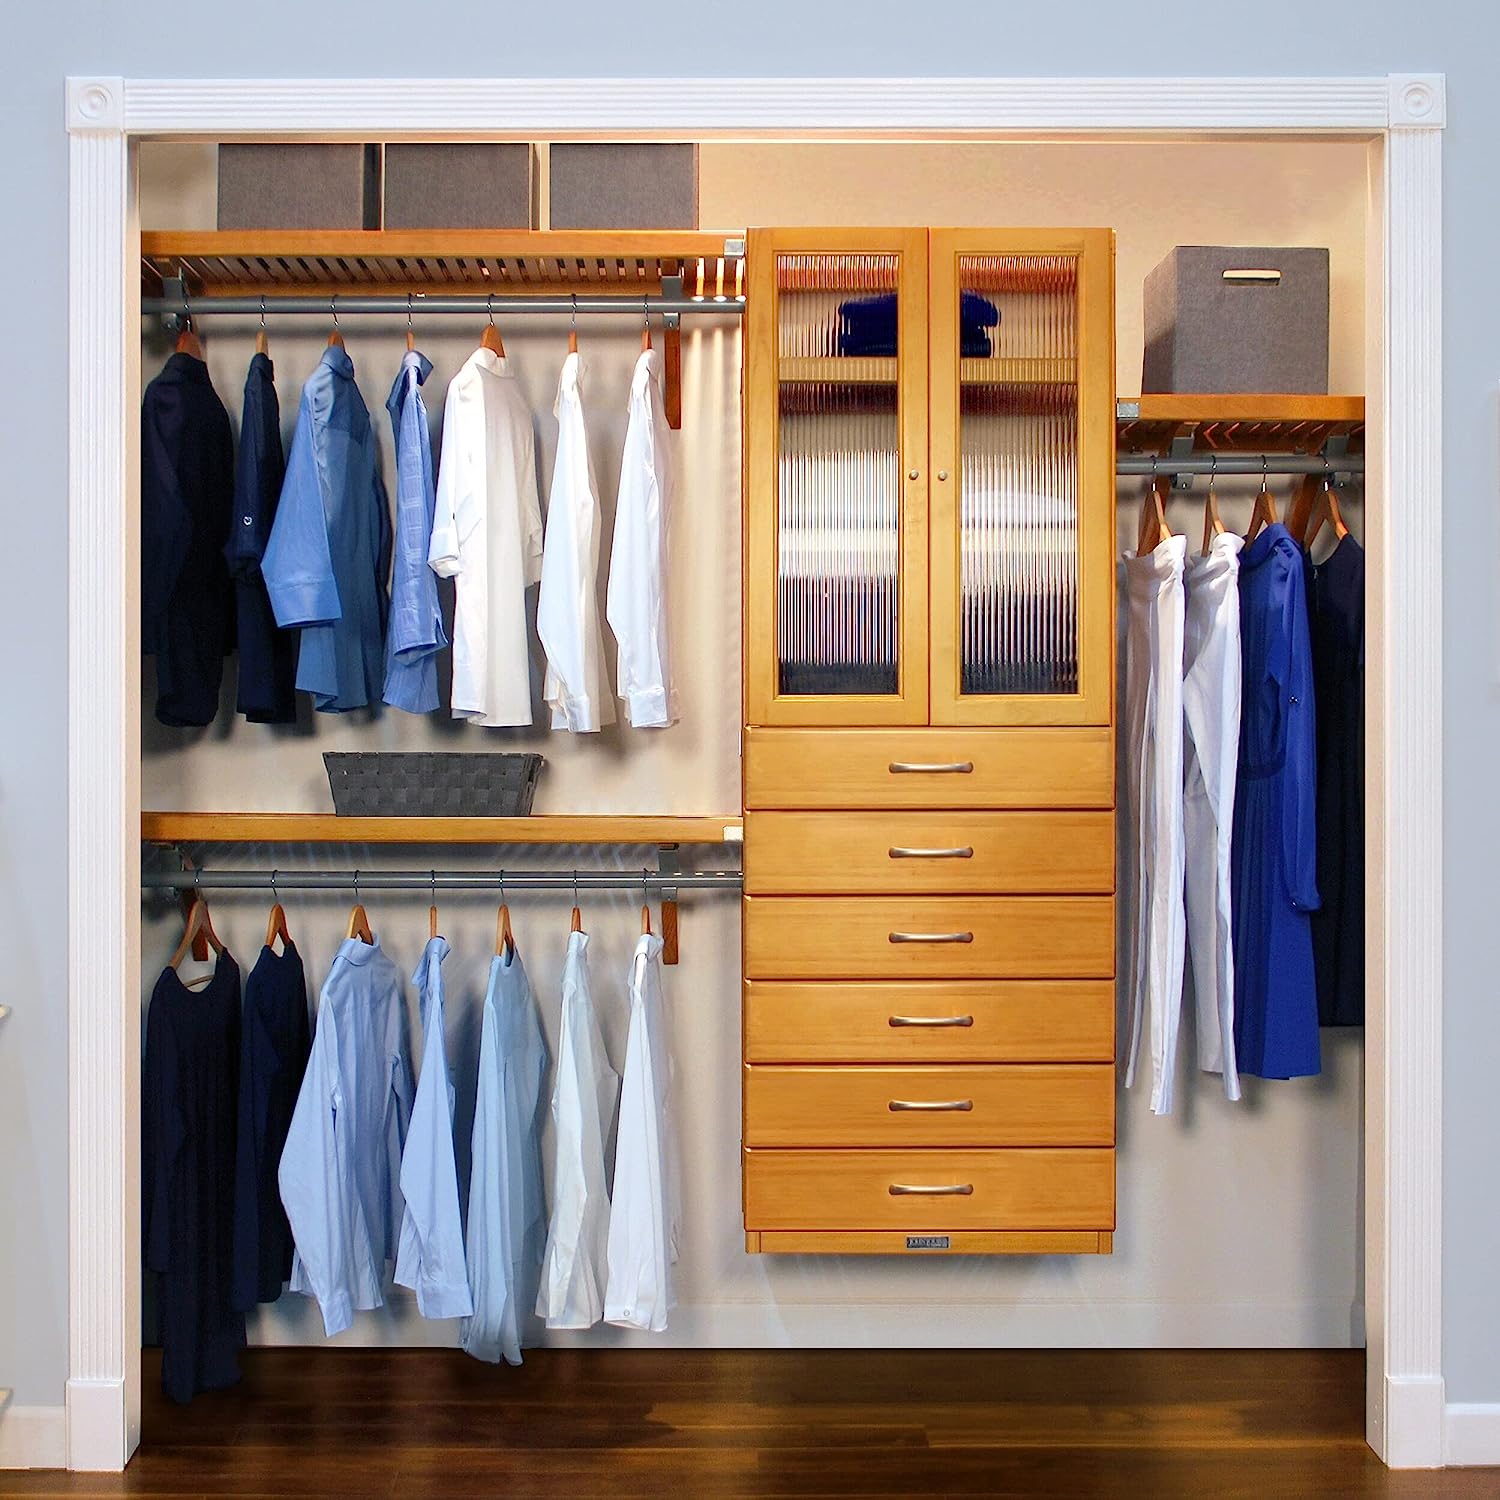
Utilizes Space Efficiently
A walk-in closet maximizes the use of available space in your room. If a custom closet organization system is implemented, these wardrobes can be particularly useful for utilizing the nooks and corners of an unconventionally shaped room.
Read more: How To Design Walk In Closet
CONS:
It Can Be Costly
A custom-built walk-in closet can be really expensive because of the added costs of lighting and carpentry. Without the lighting, your wardrobe would not be able to serve its purpose, as you wouldn’t be able to browse through all the clothes you have carefully arranged.
The Excess Space Can Be Overwhelming
Without a proper storage system, a walk-in closet can become more of a curse than a blessing. Due to the added space and the complexity of its design, there are a lot of nooks and corners in a walk-in wardrobe where stuff could go missing. So, if you’re not very organized, be prepared to waste hours just to find that one pair of shoes that was not in the right spot.
Things To Consider Before Designing Your Own Walk In Closet
Read more: How To Build A Walk In Closet
Budget
As a homeowner, being aware of how much you can spend on your closet helps speed up the planning process and finalizing the resources you will need for your desired closet design. Without a budget in mind, it can get really difficult to design a practical storage unit.
You might just end up squeezing out important components of the design when the hole in your pocket starts to deepen more than you had expected. In 2020, on average a regular DIY walk-in closet can cost you around $150-$200. We are talking the standard six by six-foot space, with materials included. The cost goes up for any extra shelves, compartments or other sets of furniture that are added.
Space
If you are just starting on renovations, one of the first things to consider is the space that will go into building a custom walk-in wardrobe. Is your room large enough to accommodate a closet for your extra storage needs?
The upside to a custom-built wardrobe is that if the space is planned out and designed properly, you will be able to enjoy a comprehensive storage unit with minimal use of space.
To maximize the use of available space, the walk-in closet should span the entire length of the wall to provide greater storage space. Also, the doors of the closet should open outwards or slide from side to side so that no storage space is wasted inside the closet.
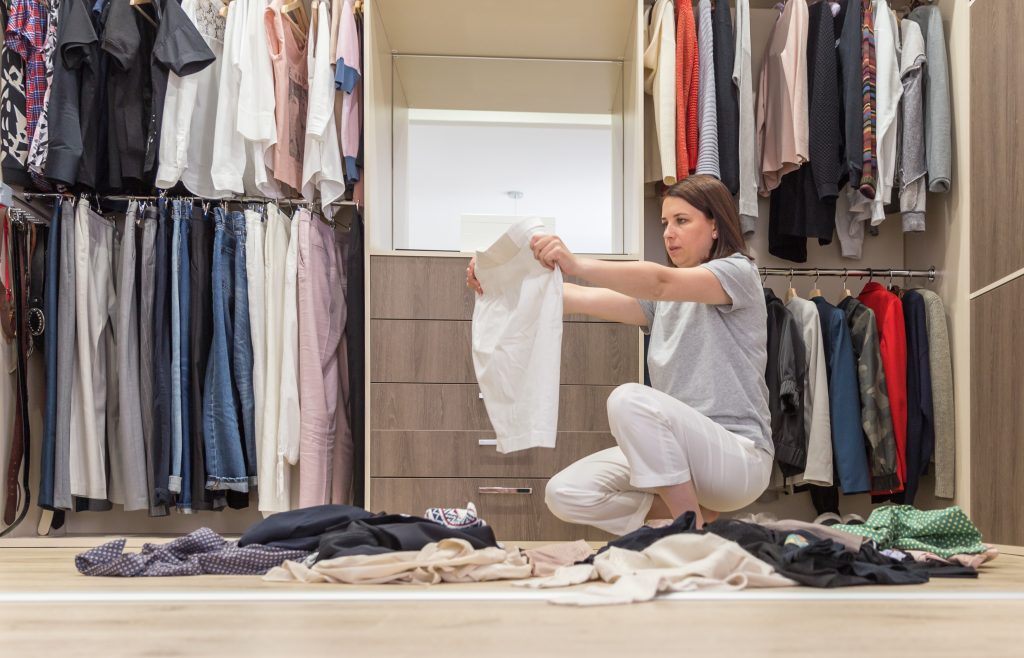
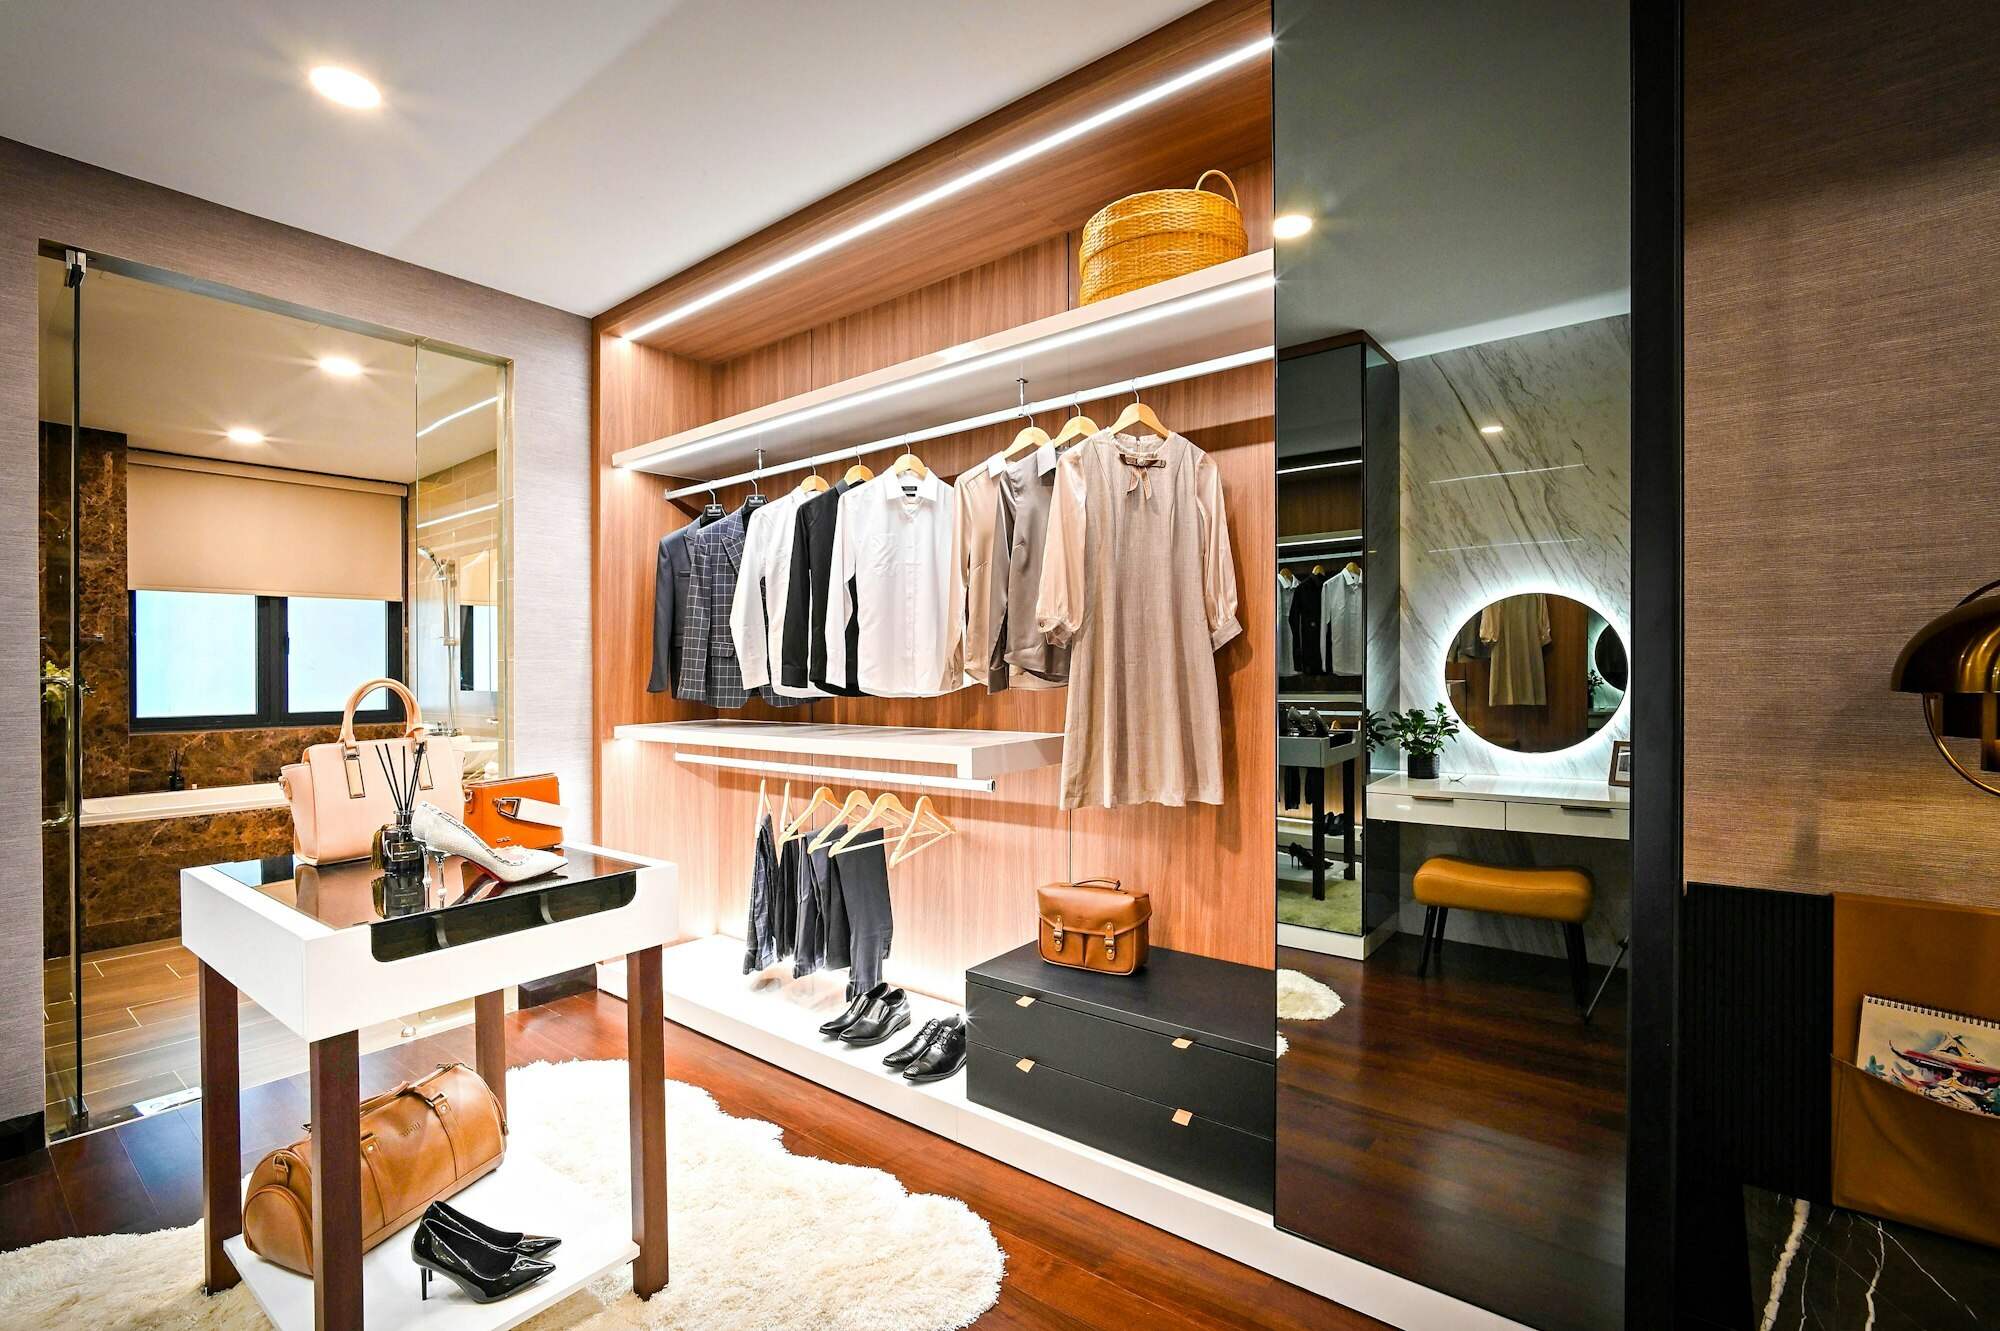
Storage Needs

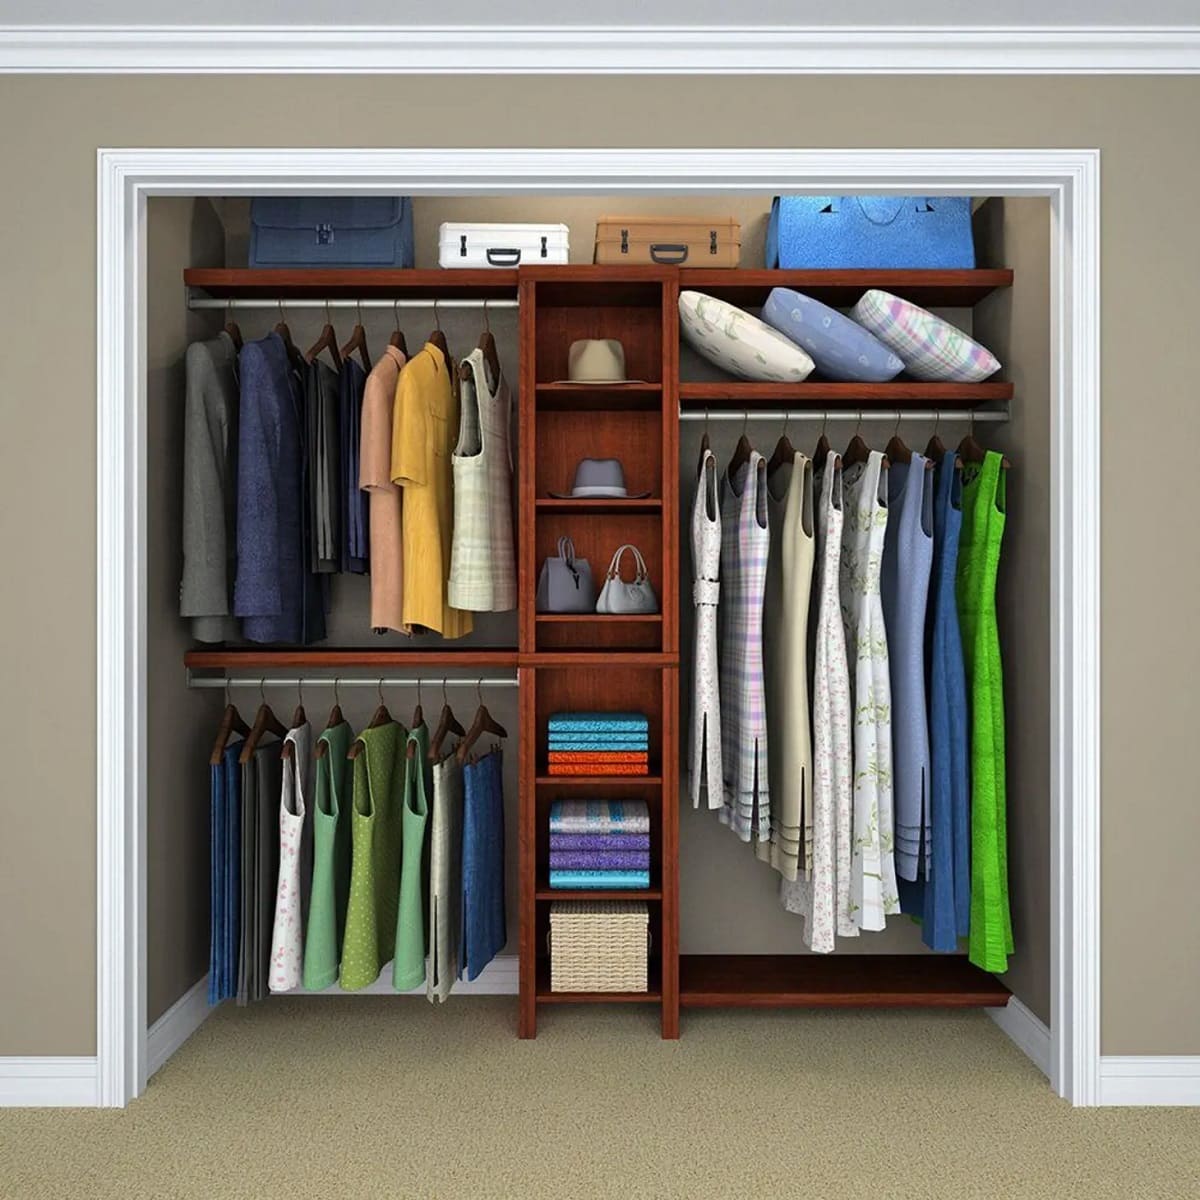
Make a list of all the things that you will store in the walk-in closet. This will help you plan out the most practical closet design according to your storage needs. A detailed inventory of your apparels will assist in determining what kind of furniture goes inside the closet.
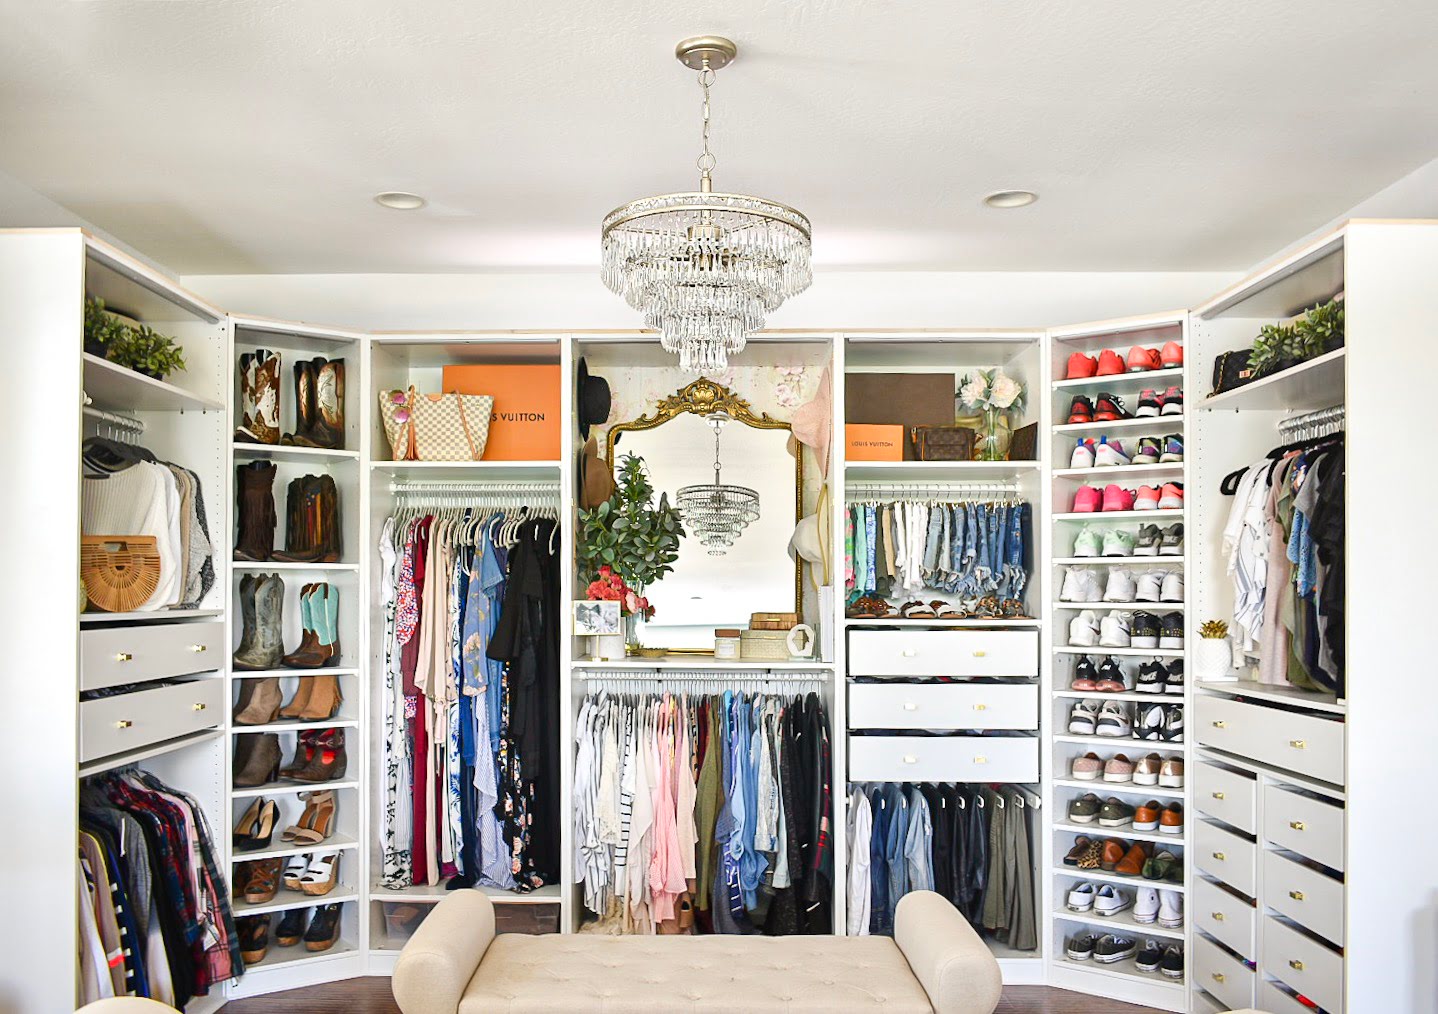
For example, if you want a display for your footwear, you will need a separate compartment for your shoes. If you want to store accessories like watches, belts, and jewellery, then you could design specific shelves in the wardrobe. If you still have enough leftover space, additional sets of furniture like a dressing table or an island counter can also be included.
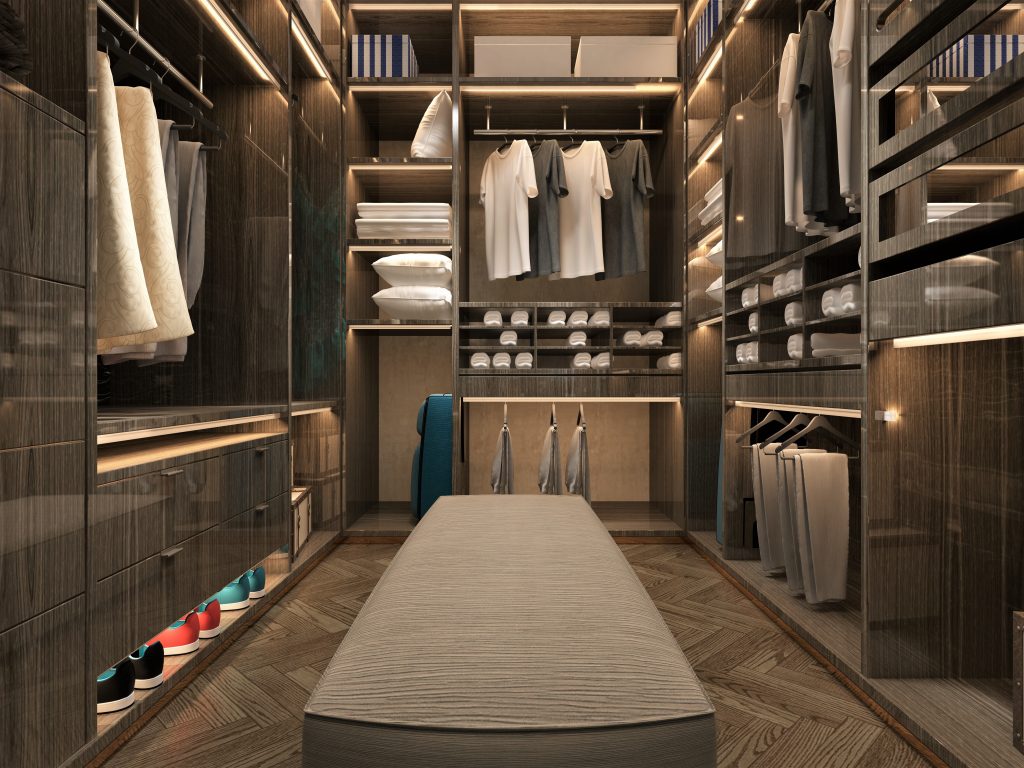
Step-by-Step Guide On How To DIY Storage Closet
A personalized walk-in closet is every homeowner’s dream. If you are one of those homeowners, then this article is definitely for you. If you have never built a DIY project before, constructing a complete storage unit from the ground up might seem like a very daunting task. But to be honest, creating a DIY closet does not require special carpentry skills.
All you’ve got to do is go to Google and search for different walk-in closet design ideas. Choose the design that is aesthetically pleasing and best fits your storage needs. Now that you know what you want to build, you can start with the building procedure. The following DIY article will hold your hand through the entire process of building your very own DIY closet organizer and wardrobe.
Things You’ll Need:
- 2×4 boards
- 16D nails
- Stud Finder
- 3-inch Screws
- Dowel
- Level
- Framing Square
- L-shaped Brackets
- Circular Saw
- Glue
- Tape measure
- Carpenter’s Pencil and/or Permanent Marker
- Drywall
- Door(s)
- Paint
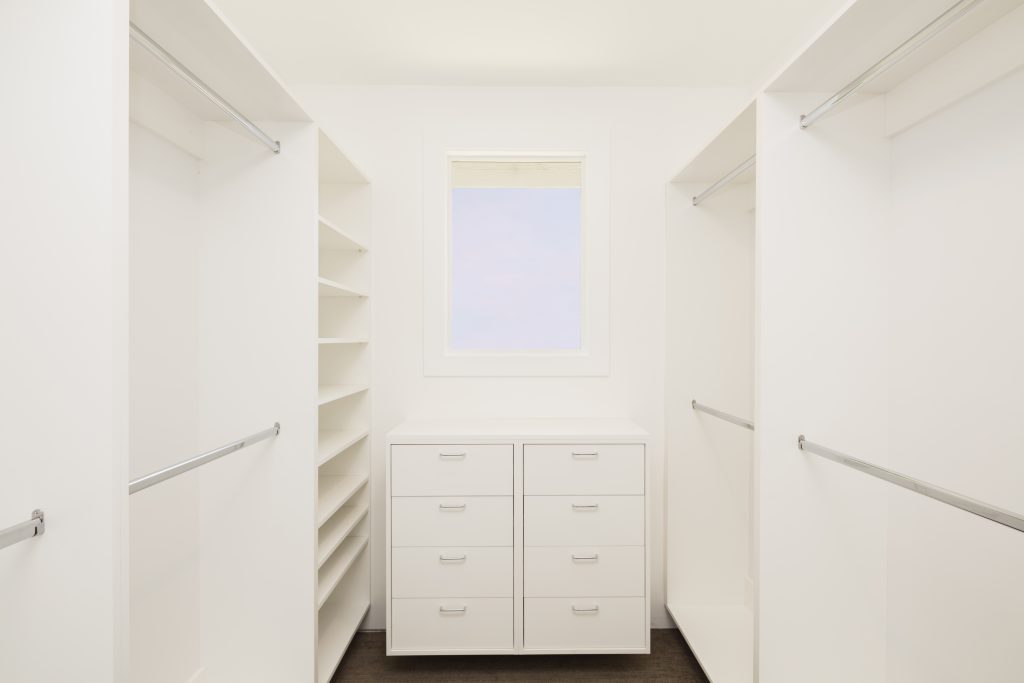
Step #1: Choosing A Space And Clearing It
The first step would be to choose a space where you want to build your walk-in closet. It’s preferable to select a space that is adjacent to your bedroom and has square or rectangular dimensions. Avoid irregularly shaped rooms. This is because it is trickier to work with awkward angles. Also, the majority of walk-in closet design ideas work best in a square or rectangular setting. Do not select a room with too many windows, because windows reduce wall area.
If you do not have a spare room available, you can body off an alcove in one of your bedrooms or you can build an enclosed area between the walls in one of the larger rooms. Now that you have selected the space to build the closet, the next step would be to declutter the area. Remove everything from the room like carpets, wall pictures, blinds and anything that you can see. Once you’ve cleared the room, use cleaning supplies to clean any dust or dirt that has gathered in your spare room. You can also sanitize the floor by using disinfectants.
Step #2: Measuring The Space Required For Each Item In Your Walk In Closet
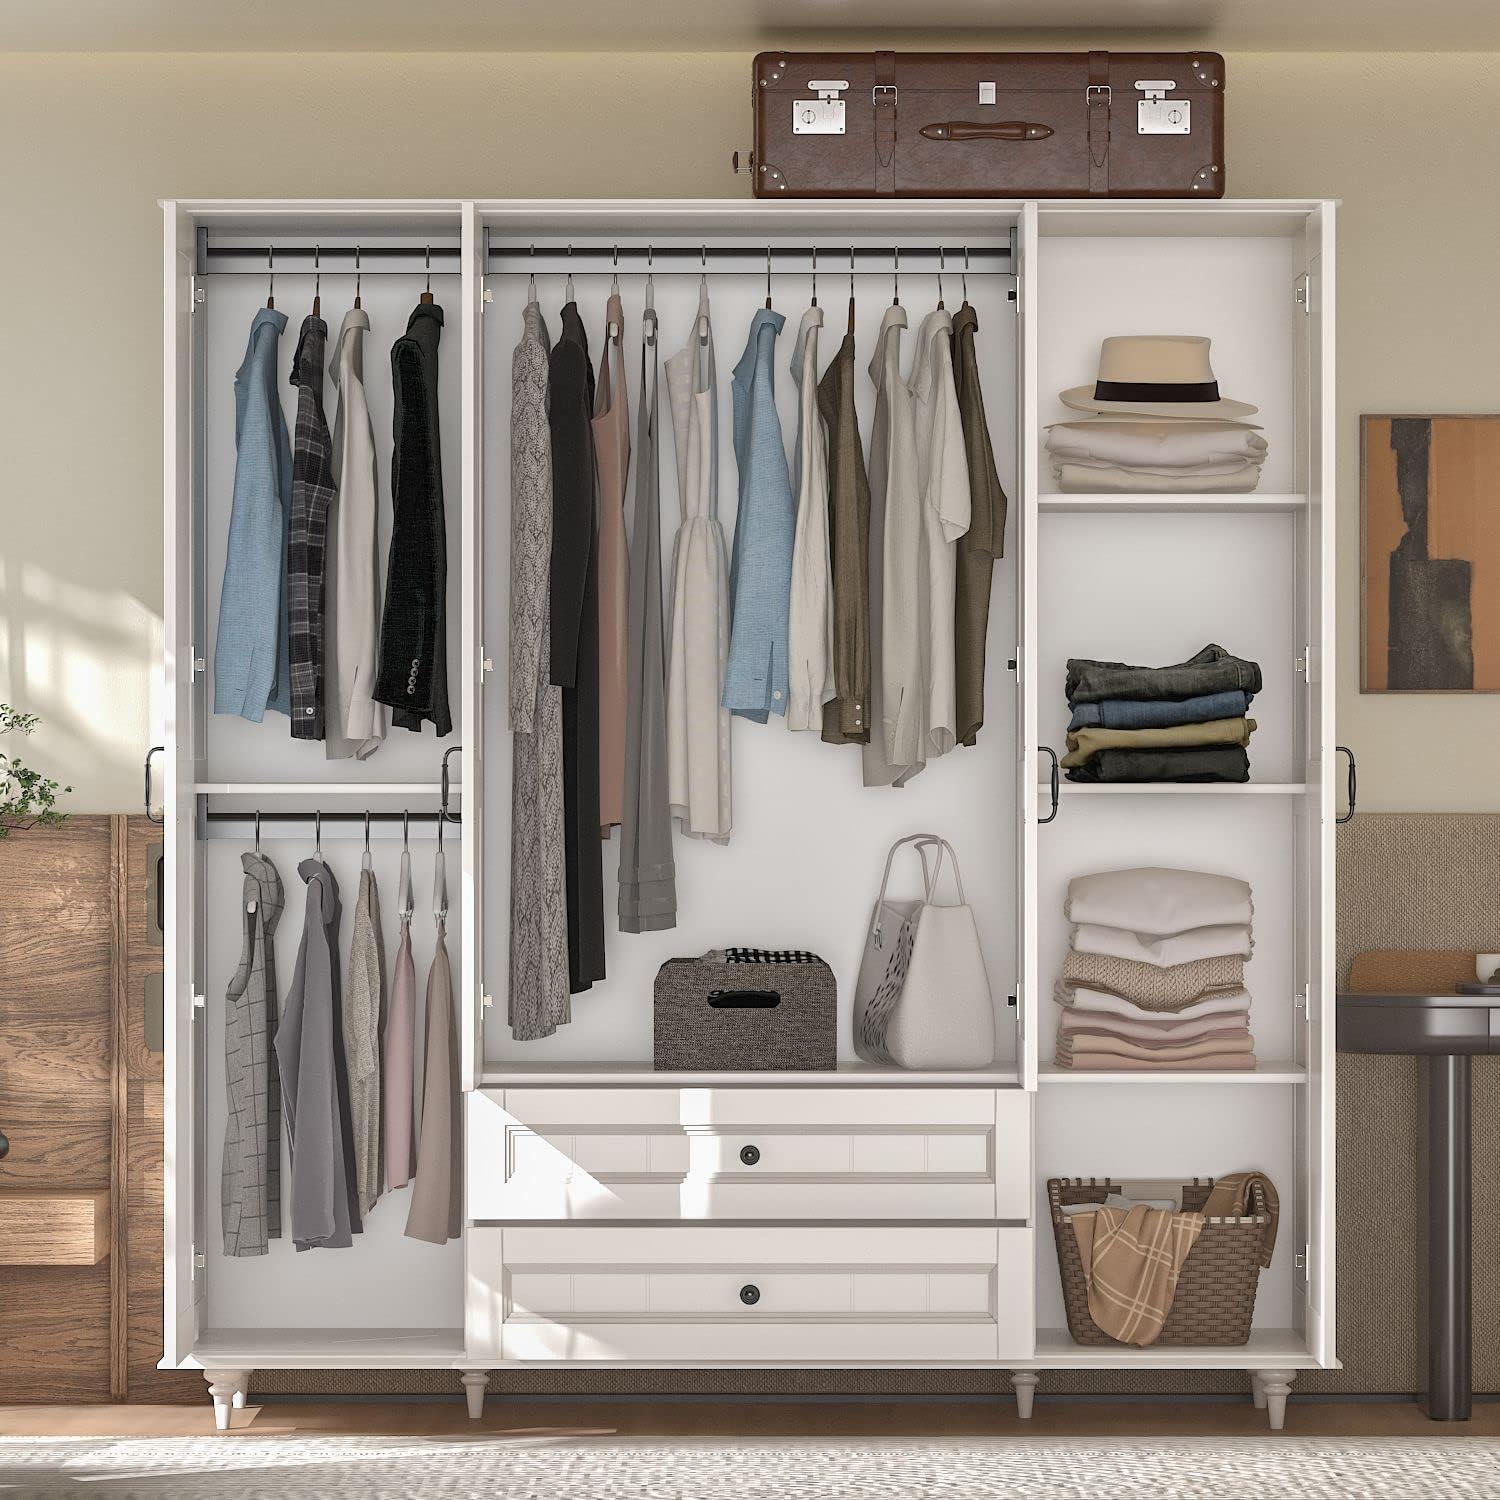
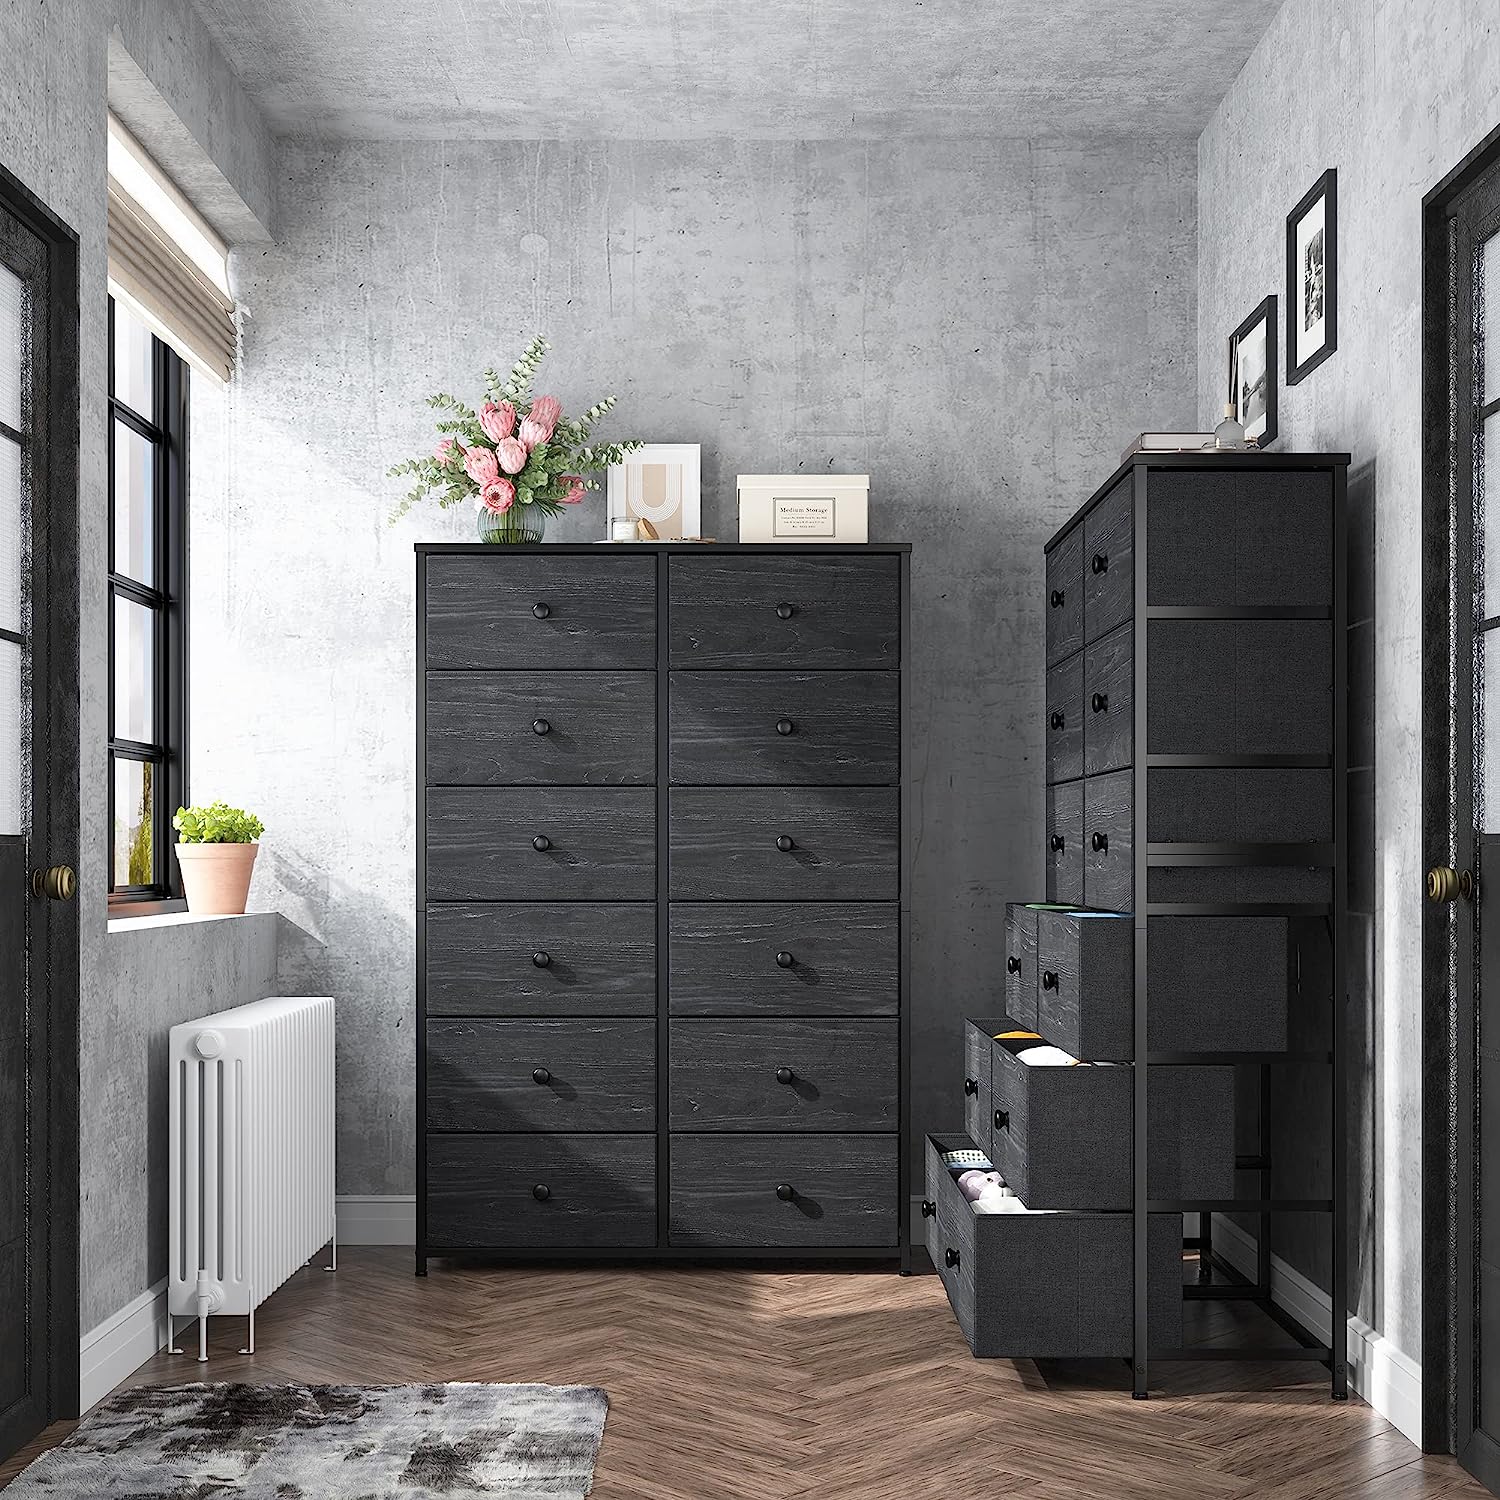
Use a measuring tape to measure the dimensions of your room. Write down the length and width of all the walls in the room, do not forget the corners. In order to draw a blueprint for your walk-in closet, you would need to ask yourself a few questions like: Do I want more hanging space or drawers? Do I want shelves for keeping my shoes? Do I want separate compartments for my accessories or can I store them without a specifically designated space?
What should be the length of my hanging space? Do I want a sliding door or a folding door? Before chalking up a layout, keep an estimate of the hanging space you need for each piece of clothing. As a general rule of thumb, allocate 1 inch of hanging space per item. For the heavier winter clothes, keep an additional 1-1.5 inches. The standard length of the hanging space is around 48-50 inches.
According to your answers and measurements, make a rough design of your DIY closet organizer on a piece of paper. You can look up different walk-in closet design ideas on Google. Remember to keep the designs minimalistic and practical. Try breaking down small areas into sections dedicated to specific clothing articles. For example, shirts, tops, pants, jackets, and shoes, etc. This will help the closet space look much more organized.
Grab a great measuring tape right away! Check the latest price and Read More Reviews here
Step #3: Lay The Foundation
Now you will need to lay out a foundation for your closet, starting with the woodwork. Remember to regularly refer to the closet design that you have drawn up. Start by cutting up wooden pieces for the units on each of your wall, the sizes will vary according to the different measurements for each wall.
To avoid wastage of the building materials, make sure that you measure twice and then cut the wooden pieces. To assemble the main drawer units, you can use dowels and glue. Allocating two dowels for the divider on each side. To install the drawer faces, insert all the drawers and the drawer slides first. Use some tape to position the face of the drawer while screwing it from the inside of the drawer. Use wooden buttons to cover up the holes created to fix in the screws.
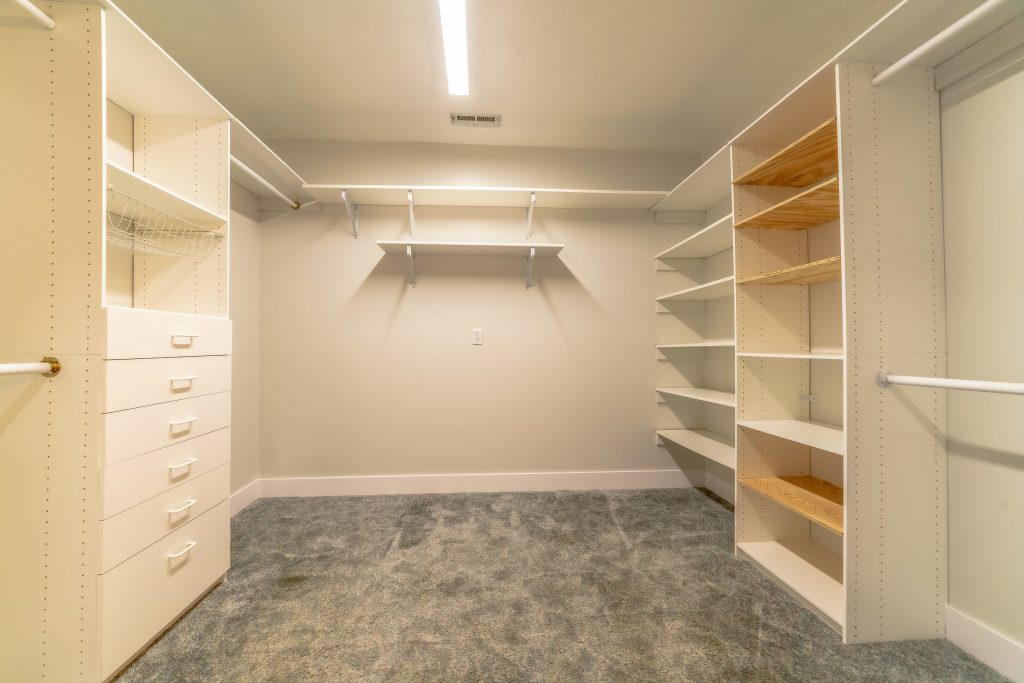
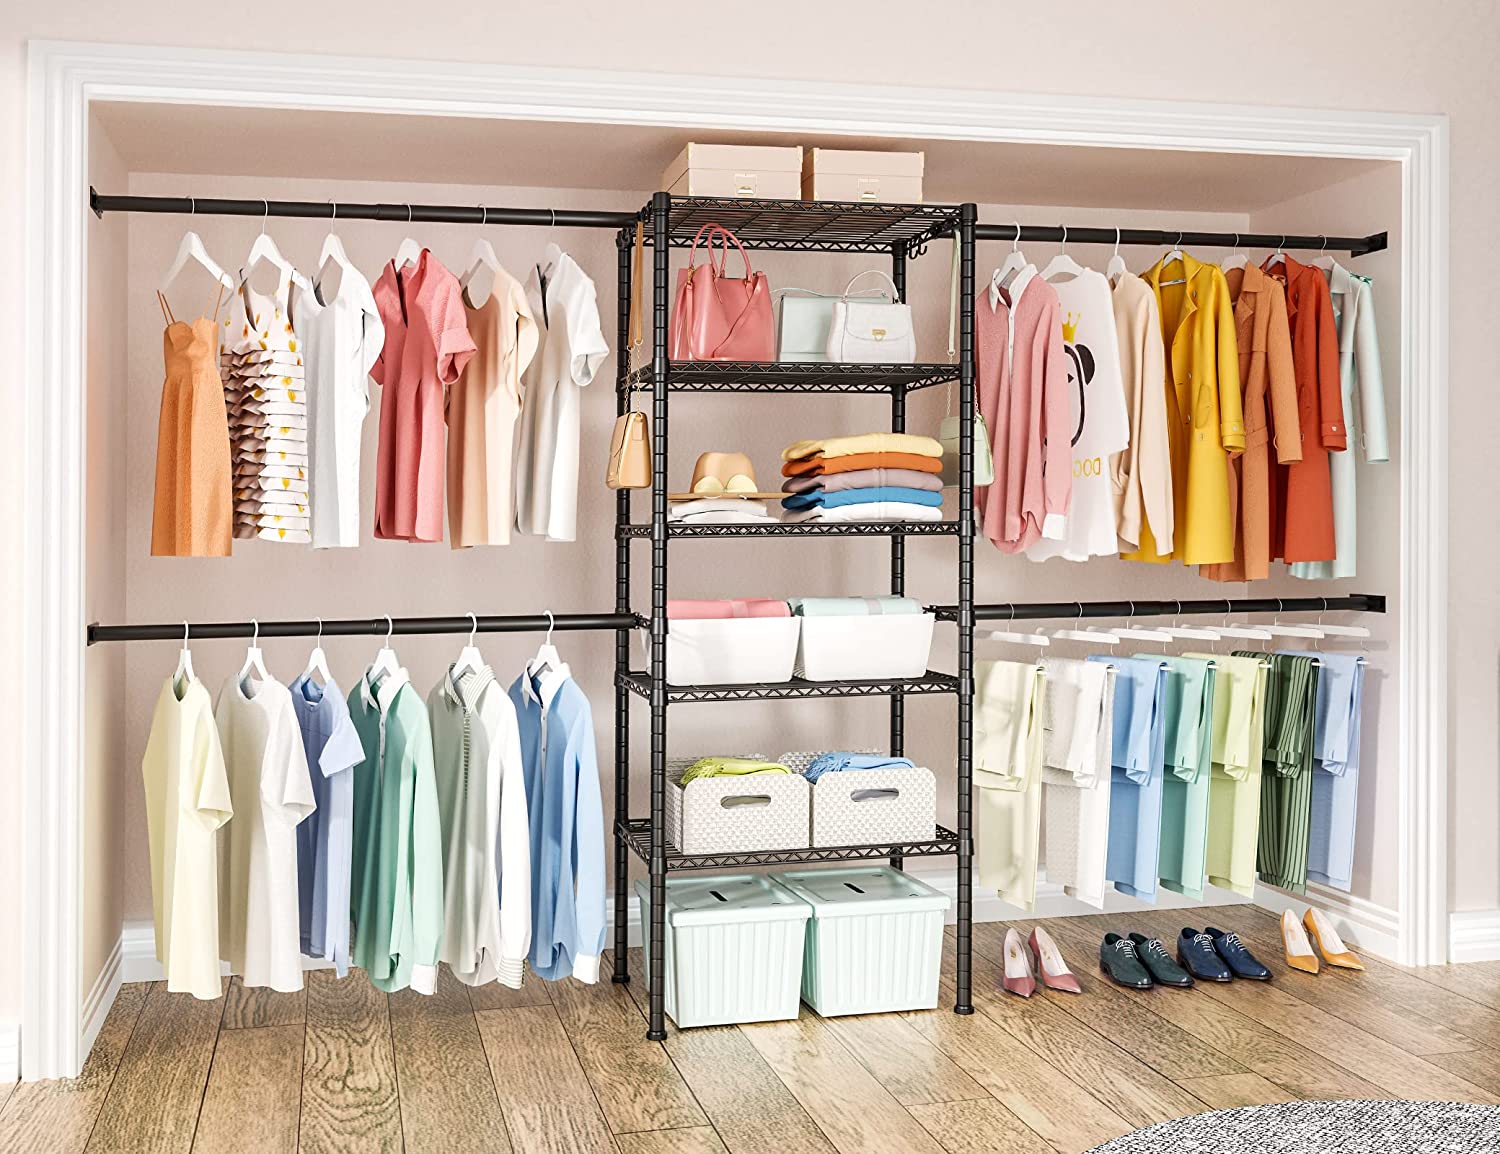
Step #4: Start Installing Shelves
Now that you are done with the basic setup for the closet. We can start installing the units on the wall. For each unit, you can use steel pipes to make L-shaped brackets for support. Secure each bracket to the wall at a height of about 12 inches from the ground. Attach the same bracket at the top of the unit about 12 inches from the ceiling. To fix the L- brackets to the wall, you can locate the studs and mark the location of each bracket.
Then screw the studs in using 3-inch screws for each unit. After you have installed the main units, you can secure the first section of hangers in between the three main units. You can utilize this section for hanging clothes that you wear regularly. Now, you can insert the drawers to the middle unit and start filling them. Voila, you have planned and perfected your personalized DIY closet organizer. Put all those funky sunglasses, over the top bracelets and the imitation necklaces inside the drawers. Maybe it’s better not to wear them outside but they can definitely rest peacefully within the newly constructed storage unit.
Find some amazing wardrobe shelves here! Check the latest price and Read More Reviews here
Read more: How To Organize A Walk-In Closet
Finishing Touches: Install lighting
Now that you’re done with all the handiwork, your closet is finally ready to be lit up. You might want to choose a lighting fixture capable of illuminating the entire room. LED strip lighting is a popular choice for light installation in walk-in closets. It is also a good idea to use bright lights. Try emulating natural light to help see colors in detail.
Find some wonderful lighting for your wardrobe here. Check the latest price and Read More Reviews here
You did it, give yourself a pat on the back. You have finally built your own walk-in closet from scratch. It’s time to celebrate.
Was this page helpful?
At Storables.com, we guarantee accurate and reliable information. Our content, validated by Expert Board Contributors, is crafted following stringent Editorial Policies. We're committed to providing you with well-researched, expert-backed insights for all your informational needs.
0 thoughts on “A Step-By-Step Guide To DIY Walk In Closet”