Home>Home Maintenance>Popular Mechanics: How To Fix Anything: 200 Home Repairs Anyone Can Do
Home Maintenance
Popular Mechanics: How To Fix Anything: 200 Home Repairs Anyone Can Do
Modified: October 20, 2024
Learn how to fix anything at home with Popular Mechanics' comprehensive guide. Discover 200 easy and practical DIY repairs for your home maintenance needs.
(Many of the links in this article redirect to a specific reviewed product. Your purchase of these products through affiliate links helps to generate commission for Storables.com, at no extra cost. Learn more)
Introduction:
Welcome to “How To Fix Anything: 200 Home Repairs Anyone Can Do”! In this comprehensive guide, we will explore various home maintenance tasks and repairs that anyone can tackle. Whether you’re a seasoned DIY enthusiast or a beginner looking to develop your skills, this article will equip you with the knowledge and confidence to handle a wide range of home repairs.
Home maintenance is an essential part of homeownership. Keeping your home in good condition not only ensures your safety and comfort but also helps to protect your investment. While some repairs may seem daunting, the truth is that many common household issues can be fixed with basic tools and a little know-how.
In each section of this article, we will focus on a specific area of home maintenance, providing step-by-step instructions and tips to help you successfully complete each repair. From small plumbing repairs, electrical fixes, and carpentry tasks to painting, appliance maintenance, and outdoor repairs, we will cover a wide range of topics to address the most common issues homeowners face.
As you embark on your home repair journey, it’s important to prioritize safety. We will begin with a section on basic tools and safety measures that every DIYer should be familiar with. Understanding how to properly use tools and taking necessary precautions will ensure that you complete repairs safely and effectively.
Throughout this guide, we will emphasize the importance of research, preparation, and patience. Each repair may require different techniques, materials, and tools. By taking the time to gather the necessary information and materials before starting each project, you’ll increase your chances of success and minimize the risk of further damage.
We understand that home repairs can be intimidating, but with the right guidance and a can-do attitude, you’ll be surprised at what you can accomplish. Whether it’s fixing a leaky faucet, replacing a light switch, repairing a squeaky floorboard, or giving your walls a fresh coat of paint, this guide is designed to empower you to take charge of your home’s maintenance and save money in the process.
So, grab your tools and let’s get started on our journey to becoming home repair experts. Remember, with a little knowledge and a lot of determination, you can fix anything!
Key Takeaways:
- You can confidently tackle home repairs with basic tools and safety measures. From fixing leaky faucets to maintaining outdoor spaces, taking a proactive approach to maintenance can save you time and money.
- Regular household maintenance tasks, such as checking air filters and testing smoke detectors, are crucial for preserving the value of your home and creating a safe and comfortable living environment.
Section 1: Basic Tools and Safety:
Before diving into any home repair project, it’s essential to have a basic understanding of the tools you’ll need and the safety measures you should follow. Having the right tools on hand will make the repair process smoother and more efficient. Here are some essential tools every DIYer should have in their toolbox:
- Screwdriver set: A good set of screwdrivers with various types and sizes of heads will come in handy for a wide range of repairs.
- Hammer: Choose a hammer with a comfortable grip and a weight that suits your needs. It will be useful for tasks such as driving nails and removing small dents.
- Adjustable wrench: This versatile tool is essential for tightening or loosening nuts and bolts of different sizes.
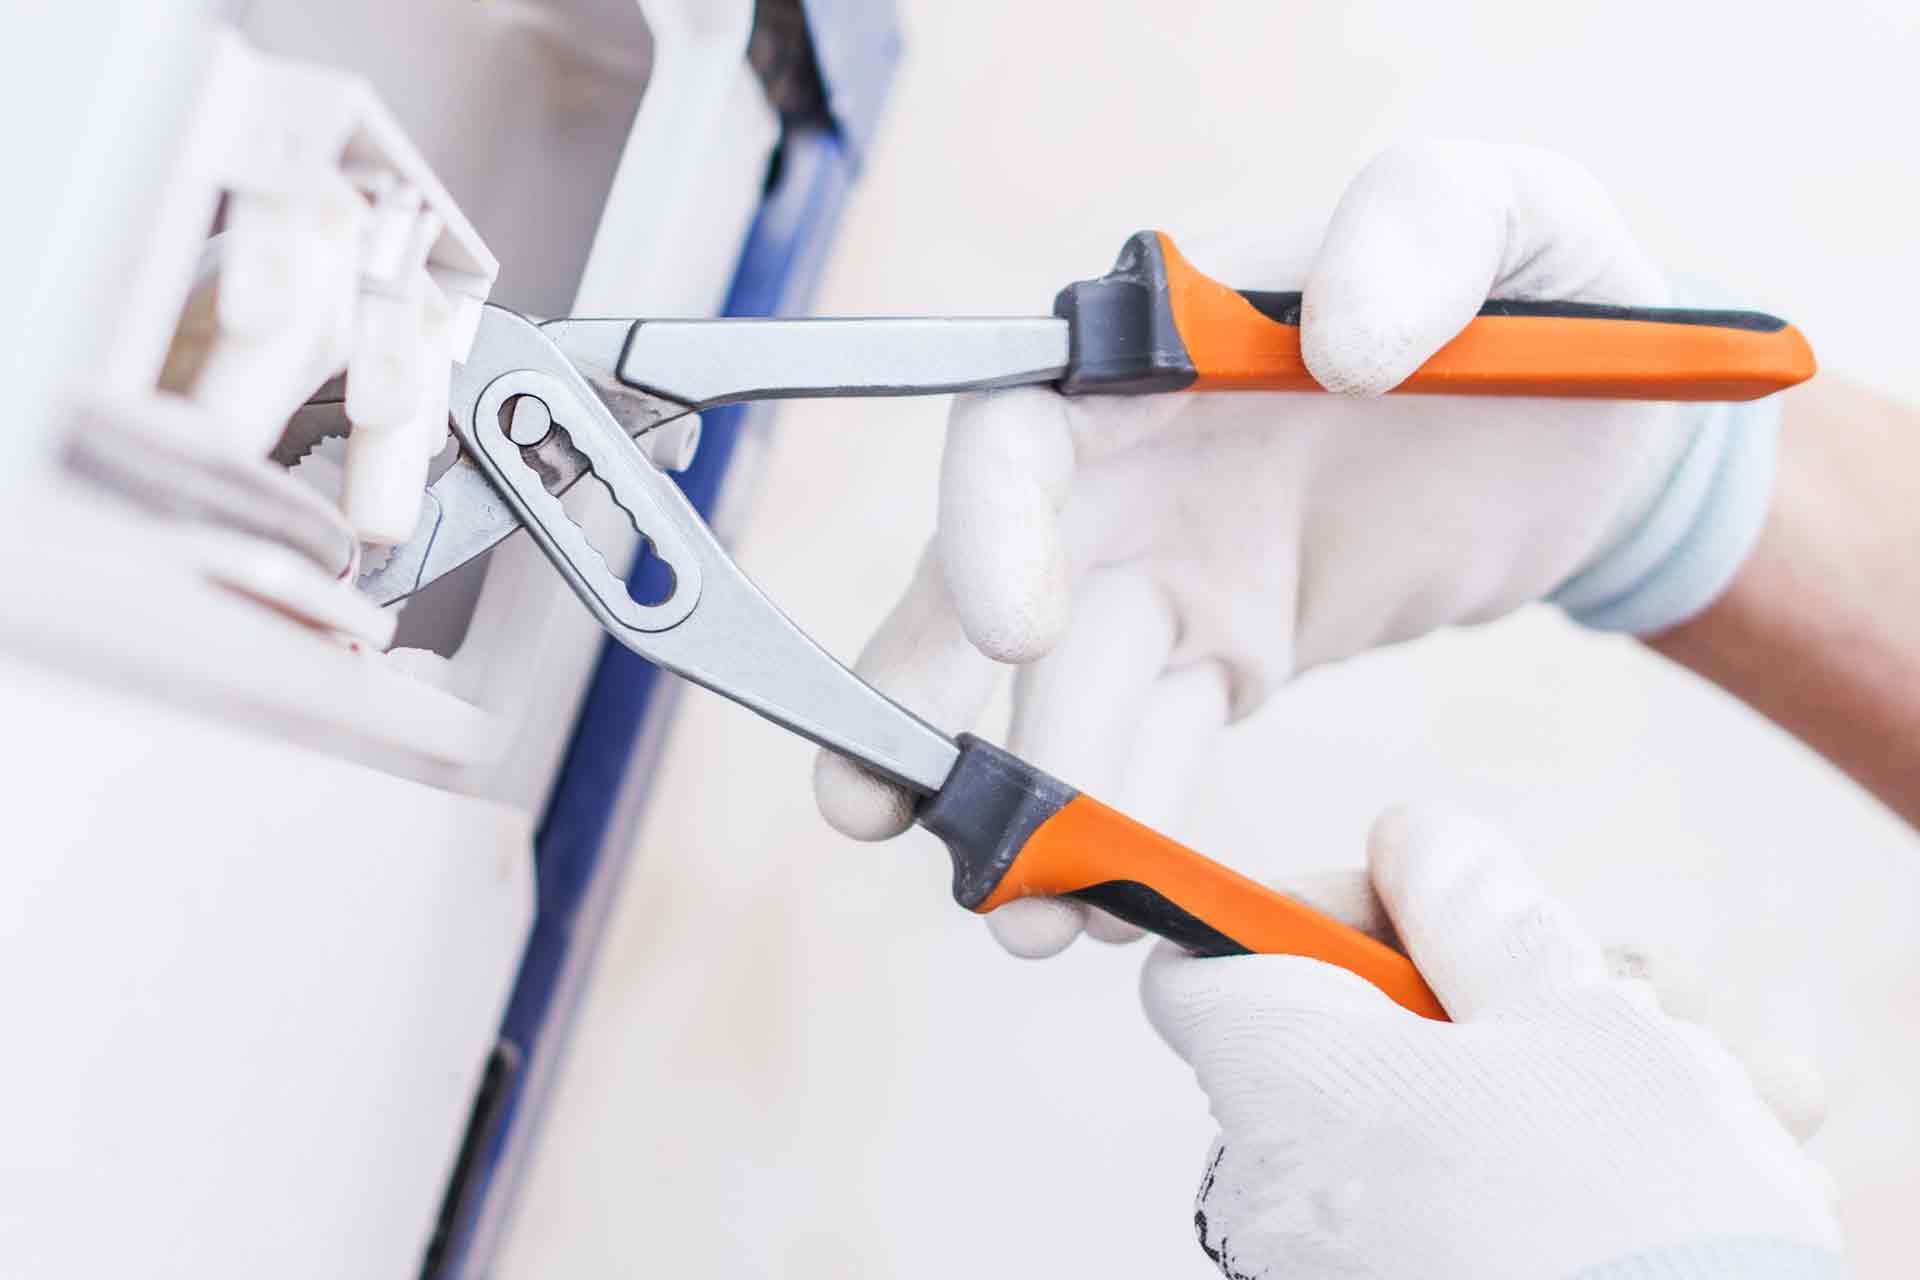
- Pliers: Invest in a pair of pliers with a solid grip, as they will assist in tasks like cutting wires and holding objects firmly.
- Tape measure: Accurate measurements are crucial in many repair projects. A tape measure will help ensure precision when cutting materials or installing fixtures.
- Utility knife: A sharp utility knife is necessary for cutting through materials such as cardboard, carpet, and drywall.
- Level: To ensure your repairs are straight and aligned, a level is essential. It will come in handy when hanging shelves, pictures, or installing fixtures.
- Safety goggles: Protecting your eyes is vital when working with tools and materials that could cause injury. Always wear safety goggles to shield your eyes from dust, debris, and flying objects.
- Gloves: Depending on the repair task, wearing gloves can provide protection for your hands from sharp objects, chemicals, or rough surfaces.
- Protective clothing: When working on home repairs, it’s a good idea to wear appropriate clothing that covers your body and provides some level of protection from hazards.
While having the right tools is crucial, it’s equally important to prioritize safety. Here are some safety measures to keep in mind:
- Read instructions and manuals: When starting a repair project, carefully read any instructions or manuals that come with the tools or materials. This will ensure you understand how to use them safely.
- Turn off power and water: Before working on any electrical or plumbing repairs, make sure to turn off the power at the circuit breaker and shut off the water supply. This will prevent accidents and potential damage.
- Use proper ladder safety: If your repair involves working at heights, use a sturdy ladder and ensure it is on a stable surface. Always keep your balance and avoid overreaching.
- Work in a well-ventilated area: Some repairs may involve fumes or dust that can be harmful if inhaled. Ensure you work in a well-ventilated area or use appropriate masks or respirators if needed.
- Follow proper tool handling: Learn how to handle tools safely and use them according to their intended purpose. This will minimize the risk of accidents and injuries.
- Ask for help if needed: Some repairs may require specific skills or expertise. Don’t hesitate to seek assistance from professionals if you are unsure about a particular task.
By equipping yourself with the right tools and following proper safety precautions, you can confidently tackle various home repair projects. Remember, your safety should always be the top priority. Now that you’re familiar with basic tools and safety measures, let’s move on to specific repairs in the following sections!
Section 2: Plumbing Repairs:
Dealing with plumbing issues can be stressful, but with a little knowledge and the right tools, you can resolve many common problems on your own. Here are a few plumbing repairs that you can tackle:
1. Fixing a leaky faucet: A dripping faucet can waste gallons of water over time. Start by turning off the water supply to the faucet. Then, disassemble the faucet and replace the worn-out washers or O-rings. Reassemble the faucet and turn the water supply back on to check for any leaks.
2. Clearing a clogged sink or drain: Clogged sinks or drains can be cleared using a plunger or a drain snake. For minor clogs, a plunger can usually do the trick. Fill the sink or drain with some water, place the plunger over the drain, and vigorously plunge up and down to create suction and dislodge the clog. If the clog persists, use a drain snake to remove the obstruction.
3. Repairing a running toilet: A running toilet can waste a significant amount of water. Start by removing the tank cover and inspect the flapper valve. If it is worn or not sealing properly, replace it. If that doesn’t solve the issue, check the water level and adjust the float accordingly. If all else fails, it may be necessary to replace the entire fill valve assembly.
4. Replacing a showerhead: If your showerhead is old or not functioning properly, replacing it is a simple task. Wrap some plumbing tape around the threaded portion of the shower arm to create a watertight seal, then screw on the new showerhead. Be careful not to overtighten.
5. Fixing a leaky pipe: Leaking pipes should be addressed as soon as possible to prevent further damage. Start by shutting off the main water supply. Then, dry the affected area, apply epoxy putty or pipe repair tape over the leak, and tighten it securely. If the leak persists, it may be necessary to replace the section of the pipe.
Remember to always take precautions when working with plumbing systems. Turn off the water supply before beginning any repairs, and be mindful of potential water damage.
In some cases, it may be advisable to consult a professional plumber for more complex plumbing issues or if you are unsure of your abilities. However, with a little patience and care, many plumbing repairs can be successfully tackled by DIYers.
That concludes our section on plumbing repairs. In the next section, we will explore electrical repairs that you can confidently undertake in your home.
Section 3: Electrical Repairs:
Electrical repairs can seem intimidating, but with the right precautions and knowledge, you can handle many basic electrical tasks. However, always remember that safety should be your top priority, and when in doubt, it’s best to consult a professional electrician. Here are a few electrical repairs you can tackle:
1. Replacing a light switch: If you have a faulty light switch that’s not working properly or is cracked, replacing it is relatively simple. Begin by turning off the power at the circuit breaker. Use a voltage tester to confirm that the power is off. Carefully remove the switch cover plate, unscrew the switch from the box, and disconnect the wires. Replace the switch with a new one, connecting the wires in the same manner. Screw the switch back into place and test it before replacing the cover plate.
2. Installing a ceiling fan: Adding a ceiling fan can improve ventilation and cooling in a room. Start by turning off the power at the circuit breaker. Mount the ceiling fan bracket to the electrical box, following the manufacturer’s instructions. Connect the fan wires to the corresponding wires in the electrical box, ensuring proper grounding. Attach the fan blades and tighten all screws securely. Turn the power back on and test the fan to ensure it’s working correctly.
3. Fixing an outlet: If an outlet is not working or is loose, it may need to be replaced. Begin by turning off the power at the circuit breaker. Double-check with a voltage tester to ensure the power is off. Remove the outlet cover plate and unscrew the outlet from the electrical box. Disconnect the wires and replace the outlet with a new one, following proper wiring techniques. Screw the outlet back into the box, replace the cover plate, and turn the power back on to test the outlet.
4. Installing a new light fixture: Upgrading a light fixture can enhance the look and functionality of a room. Make sure the power is turned off at the circuit breaker before starting. Remove the existing light fixture by disconnecting the wires. Connect the wires of the new light fixture to the corresponding wires in the electrical box. Secure the new fixture in place and turn the power back on to test it.
5. Adding a new electrical outlet: If you need an additional outlet, you can install one by extending the existing electrical wiring. However, this task may require some knowledge of electrical wiring, so it’s best to consult an electrician if you’re unsure.
Remember to exercise caution and follow electrical safety procedures. If you encounter any issues or feel uncertain about a repair, seek professional assistance. Electrical repairs can be complex and potentially dangerous if not handled correctly.
With proper precautions and a basic understanding of electrical systems, you can confidently take on various electrical repairs in your home. In the next section, we will explore carpentry repairs that you can tackle with some basic tools and skills.
Section 4: Carpentry Repairs:
Carpentry repairs are a fundamental part of home maintenance and can help keep your house in optimal condition. With the right tools and a bit of skill, you can handle many common carpentry tasks. Here are a few carpentry repairs you can tackle:
1. Fixing squeaky floors: Squeaky floors can be annoying, but they can be fixed with a few simple steps. First, identify the source of the squeak by walking on the floor and pinpointing the loose floorboard. Apply a generous amount of powdered graphite or specialized squeak-reducing powder between the boards to lubricate them. Then, secure the loose floorboard using carpenter’s glue and screws. Be sure to countersink the screws and fill the holes with wood filler for a seamless finish.
2. Repairing a damaged door frame: Damaged door frames can cause issues with opening and closing doors properly. Start by removing any loose or damaged wood from the frame. Use wood filler to fill in any cracks or holes and allow it to dry. Once dry, sand the area to ensure a smooth surface. Finally, repaint or refinish the frame to match the surrounding area.
3. Fixing a wobbly table or chair: Wobbly tables or chairs can be stabilized by tightening loose screws or joints. Examine the furniture and identify the loose connections. Use a screwdriver or Allen wrench to tighten the screws or bolts until the item is stable. If necessary, you can also use wood glue to reinforce the joints.
4. Repairing or replacing a damaged wooden fence board: Over time, wooden fence boards can become damaged or rotten. To repair them, start by removing any nails or screws holding the damaged board in place. Use a saw to cut the board to the desired length, making sure to remove any rotten sections. Fit the new board into the vacant spot, and secure it with nails or screws. Finally, paint or stain the board to match the rest of the fence.
5. Fixing a sticking door: If your door is sticking or hard to open and close, it may need to be adjusted. Start by tightening or replacing loose hinge screws. If the issue persists, you can try sanding the edges of the door to create a smooth surface, allowing it to move freely within the frame. Be sure to repaint or refinish the door afterward to protect it from moisture.
Remember to take proper safety precautions when working with tools and materials, including wearing safety glasses and using the appropriate protective gear. If a repair task seems too complex or requires specialized skills, it may be best to consult a professional carpenter.
By addressing carpentry issues promptly and effectively, you can maintain the beauty and functionality of your home. In the next section, we will explore painting and wall repairs that you can easily undertake to refresh and enhance the appearance of your living space.
When fixing a leaky faucet, start by turning off the water supply to the faucet. Then, disassemble the faucet and replace the worn out parts with new ones to stop the leak.
Read more: How To Fix Recliner Mechanism
Section 5: Painting and Wall Repairs:
Whether you’re looking to refresh the look of a room or fix minor flaws on your walls, painting and wall repairs are great ways to spruce up your living space. With the right tools and techniques, you can achieve professional-looking results. Here are a few painting and wall repairs you can tackle:
1. Filling and repairing small holes: Over time, walls can accumulate small holes from nails, screws, or accidents. To repair these, start by cleaning the area around the hole. Use a putty knife to apply a small amount of spackling compound or wall filler to fill the hole, smoothing it out evenly. Allow it to dry, and then sand it until it’s flush with the surrounding wall. Finish by painting over the repaired area to match the rest of the wall.
2. Patching larger holes or cracks: For larger holes or cracks in the wall, you may need to use a patching kit or drywall compound. Clean the damaged area and cut a piece of drywall or mesh patch slightly larger than the hole. Apply a layer of drywall compound to the back of the patch and press it firmly into the hole. Smooth the compound over the patch and feather the edges with a putty knife. Sand it down once dry, and then apply paint or wallpaper to complete the repair.
3. Removing wallpaper: If you’re tired of an old wallpaper design or want to switch to paint, removing wallpaper is a necessary step. Start by scoring the wallpaper with a tool or sandpaper to allow the remover solution to penetrate. Apply a wallpaper removal solution according to the manufacturer’s instructions and let it soak in. Once the wallpaper has loosened, use a scraper to gently remove it from the wall. Clean the wall thoroughly and patch any damaged areas before painting or applying new wallpaper.
4. Painting a room: Painting a room is a cost-effective way to transform its appearance. Start by preparing the walls by cleaning them and patching any imperfections. Cover the floor and furniture with drop cloths or plastic sheets to protect them from paint splatters. Apply painter’s tape to edges and trim for clean lines. Begin painting with a primer, and once it has dried, apply your desired paint color in even strokes. Allow the paint to dry between coats, and finish by removing the painter’s tape.
5. Creating an accent wall: If you want to add a pop of color or create a focal point in a room, consider painting an accent wall. Choose a wall that stands out, such as the one behind a fireplace or headboard. Follow the same process as painting a room, but focus on a single wall. The contrasting color or pattern will add visual interest to the space.
Remember to choose the right type of paint for your project, whether it’s latex, oil-based, or specialty paint. Follow the manufacturer’s instructions for application and drying times. Additionally, proper ventilation and wearing protective gear like gloves and goggles are essential during painting and wall repair tasks.
By confidently tackling painting and wall repairs, you can give your home a fresh and renewed look. In the next section, we will explore appliance repairs that you can handle to keep your home running smoothly and efficiently.
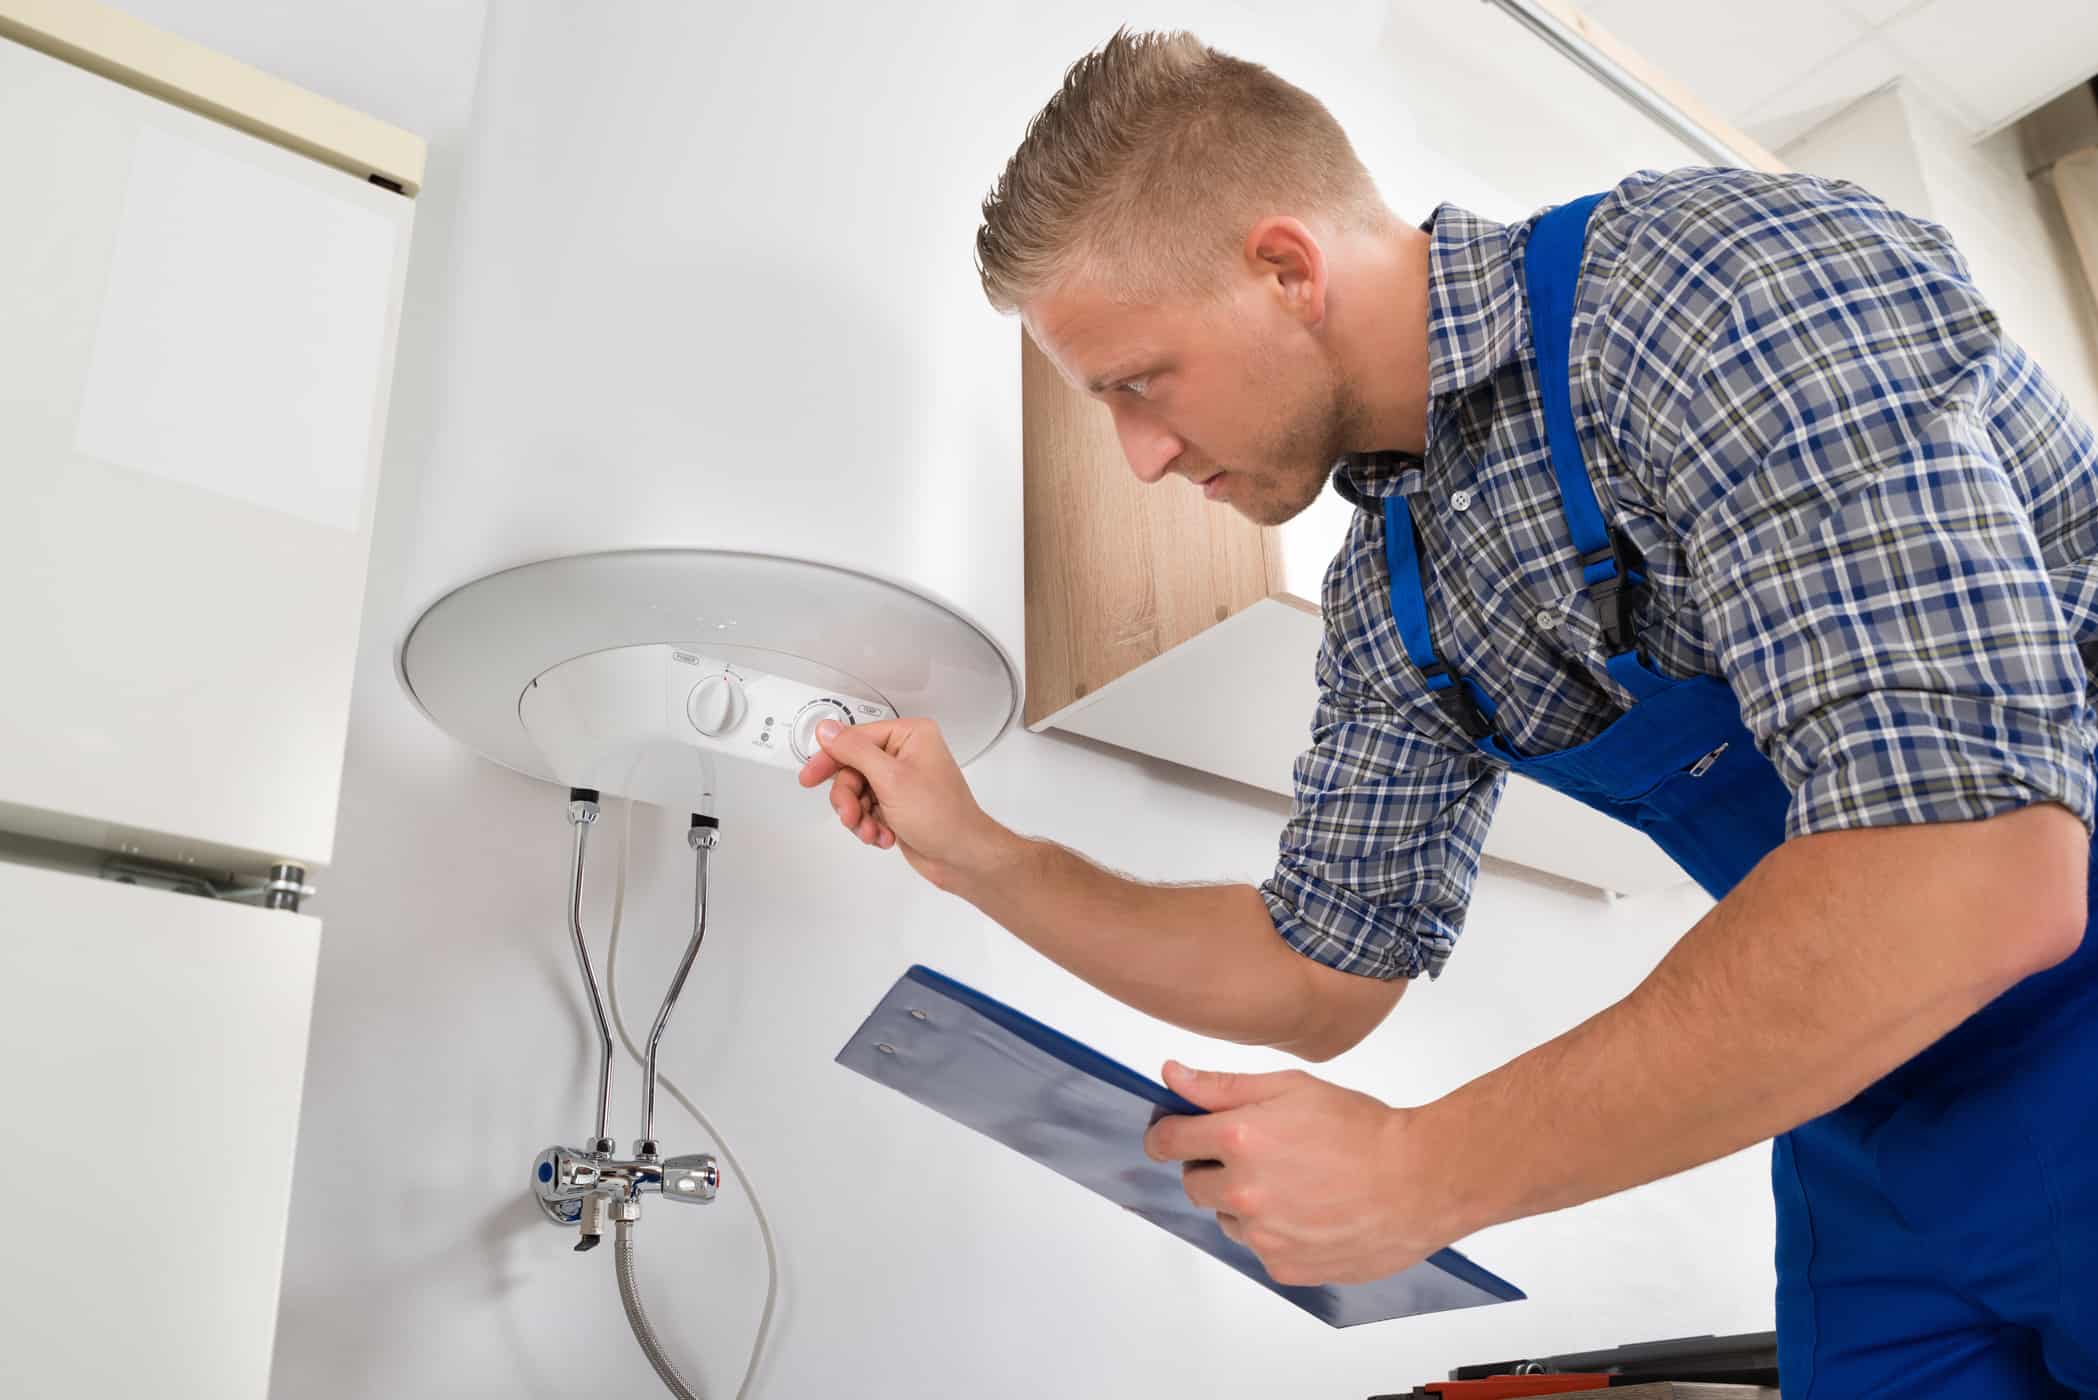
Section 6: Appliance Repairs:
Appliances play a crucial role in our daily lives, and when they break down, it can cause inconvenience and frustration. However, many common appliance issues can be resolved with a little troubleshooting and basic repairs. Here are a few appliance repairs you can confidently tackle:
1. Fixing a noisy refrigerator: A noisy refrigerator can be disruptive and indicate an underlying problem. Start by cleaning the condenser coils, located at the back or underneath the fridge, to remove dust and debris. If the noise persists, check the evaporator fan or condenser fan motor for any loose or worn parts. Tighten or replace them if necessary. If the noise still persists, it may be worth consulting a professional repair technician.
2. Repairing a dishwasher that won’t drain: If your dishwasher fails to drain properly, it could be due to a clogged drain hose or a malfunctioning pump. Start by checking the drain hose for any obstructions or kinks. Clear any debris and ensure a free-flowing path. If the drain hose is not the issue, inspect the dishwasher pump for any blockages and remove them. If the problem persists, it may require professional attention.
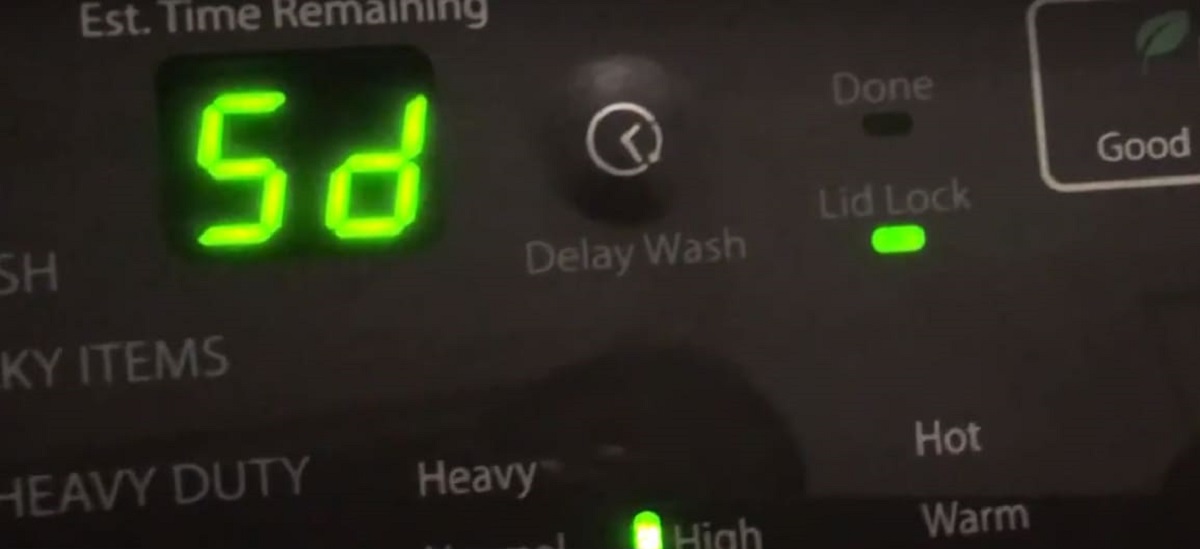
3. Fixing a washing machine that won’t spin: If your washing machine isn’t spinning, it may be due to a broken or worn-out drive belt. Start by unplugging the machine and accessing the belt located behind the machine’s back panel. Inspect the belt for any signs of damage or tension loss. If necessary, replace the belt following the manufacturer’s instructions. If the problem persists, it may indicate a more significant issue, and a professional repair technician should be contacted.
4. Repairing a gas stove burner that won’t light: If a gas stove burner fails to light, it may be due to a clogged burner port. Remove the burner cap and clean the ports using a soft brush or a pin. Ensure the ports are clear of any debris before attempting to light the burner again. If the issue persists, check the igniter or electrode for any damages or looseness. Replace them if necessary. If the problem continues, it is advisable to seek professional assistance.
5. Fixing a microwave with no heat: If your microwave is running but not heating the food, it may be due to a faulty magnetron or high-voltage capacitor. These components are best left to professionals to repair or replace, as they deal with high voltages and can be dangerous to handle without proper knowledge and equipment.
Remember, when working with appliances, safety should always come first. Make sure to unplug the appliance before attempting any repairs and avoid any contact with live electrical components.
While these basic repairs can often solve common appliance issues, complicated or major repairs are best left to experienced professionals. If you’re uncertain or uncomfortable with any repair task, it’s always wise to consult a qualified appliance repair specialist to avoid further damage or injury.
In the next section, we will explore outdoor repairs and maintenance tasks that you can undertake to keep the exterior of your home in top shape.
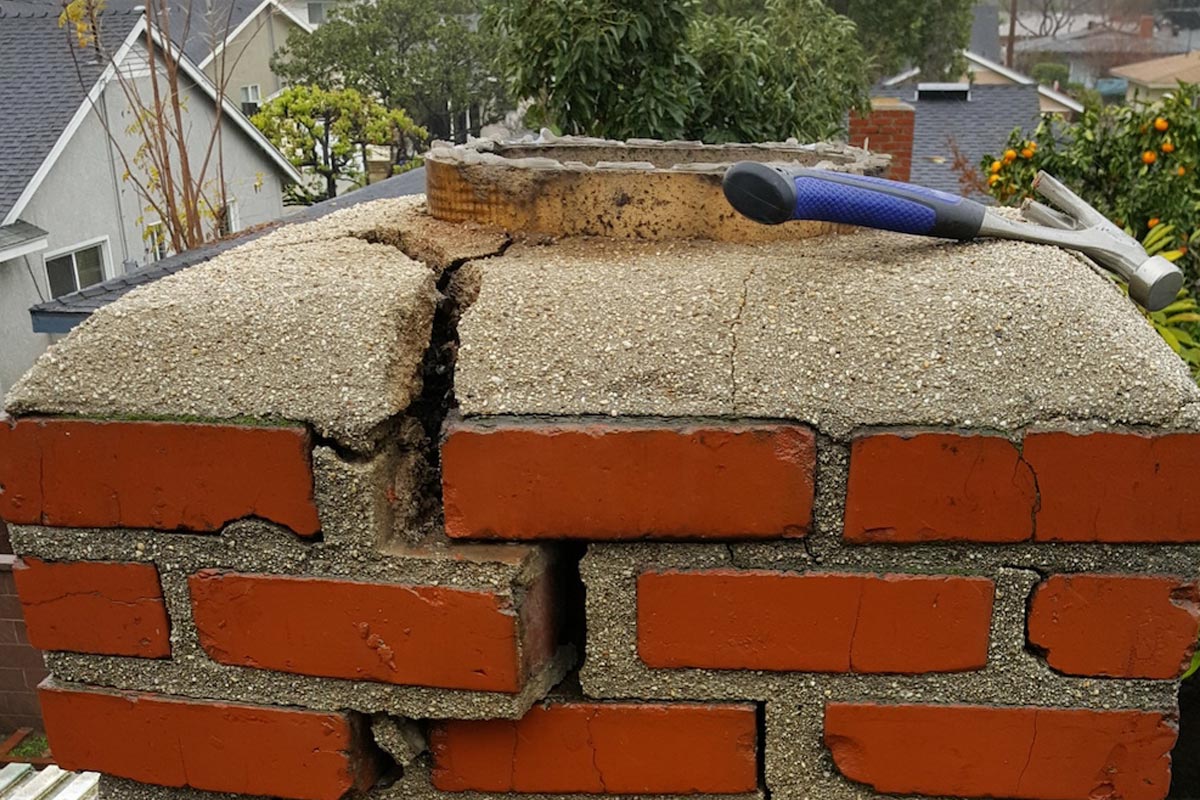
Section 7: Outdoor Repairs and Maintenance:
Outdoor repairs and maintenance are essential for maintaining the curb appeal and functionality of your home. From maintaining your lawn to repairing outdoor structures, there are several tasks you can tackle to keep the exterior of your home in top shape. Here are a few outdoor repairs and maintenance tasks you can confidently undertake:
1. Repairing a damaged fence: Over time, fences can become damaged due to weather, age, or accidents. Inspect your fence for any loose or broken boards, posts, or hardware. Replace any damaged components and tighten loose screws or nails. If your fence is made of wood, consider applying a fresh coat of sealant or paint to protect it from the elements.
2. Fixing a leaky outdoor faucet: A leaking outdoor faucet not only wastes water but can also cause damage to the surrounding area. Start by turning off the water supply to the faucet. Inspect the faucet for any worn-out washers or damaged components. Replace any faulty parts and reassemble the faucet. Be sure to test it thoroughly to ensure there are no more leaks.
3. Repairing cracks in the driveway or walkway: Cracks in the driveway or walkway can be unsightly and pose tripping hazards. Clean the cracked area thoroughly and remove any loose debris. Use a concrete patching compound to fill the cracks, smoothing it out with a trowel. Allow it to dry according to the manufacturer’s instructions. If necessary, apply a sealant to protect the repaired area from further damage.
4. Maintaining outdoor furniture: Outdoor furniture is exposed to the elements and can become worn or damaged over time. Regular maintenance can extend their lifespan. Clean your outdoor furniture thoroughly and check for any loose screws or joints. Tighten any loose parts and consider applying a protective coating or sealant to prevent damage from the sun and rain.
5. Clearing clogged gutters and downspouts: Clogged gutters and downspouts can cause water damage to your home’s foundation and landscaping. Use a ladder and gloves to remove any debris, such as leaves and twigs, from the gutters. Flush the gutters and downspouts with water to ensure proper drainage. Consider installing gutter guards to prevent future clogs.
6. Maintaining the lawn: Regular lawn maintenance is important for a healthy and vibrant yard. This includes mowing the lawn, edging the borders, and removing weeds. Ensure your lawnmower is properly maintained and the blades are sharp for a clean cut. Water the lawn regularly and adjust the sprinkler system if needed.
7. Repainting or staining outdoor structures: Over time, outdoor structures like decks, fences, and pergolas can fade or become worn due to weather exposure. Consider repainting or staining these structures to revive their appearance. Properly clean the surface, sand if necessary, and apply a fresh coat of paint or stain following the manufacturer’s instructions.
Always prioritize safety when working outdoors. Use proper safety equipment, such as gloves, goggles, and sunscreen. Additionally, be mindful of your surroundings and inspect outdoor structures for any signs of deterioration or damage to ensure your safety.
By undertaking outdoor repairs and maintenance tasks, you can enhance the exterior of your home and create a welcoming and well-maintained outdoor space. In the next section, we will explore general household maintenance tips to help you keep your home in optimal condition.
Section 8: General Household Maintenance:
General household maintenance is crucial for keeping your home in optimal condition and preventing costly repairs down the line. By staying on top of regular maintenance tasks, you can prolong the lifespan of your home’s components and ensure a safe and comfortable living environment. Here are some general household maintenance tasks you should include in your routine:
1. Check and change air filters: Regularly inspect and change the air filters in your HVAC system. Clogged or dirty filters can restrict airflow, reduce efficiency, and contribute to poor indoor air quality. Follow the manufacturer’s guidelines for filter replacement frequency.
2. Test and maintain smoke detectors and carbon monoxide detectors: Test your smoke detectors and carbon monoxide detectors regularly to ensure they are functioning properly. Replace batteries as needed and replace the units according to manufacturer recommendations, typically every 10 years.
3. Clean gutters and downspouts: Regularly clean out gutters and downspouts to prevent clogs and water damage. Remove leaves, debris, and any blockages to ensure proper water drainage.
4. Inspect and maintain seals and caulking: Inspect the seals and caulking around windows, doors, and other openings. Replace any damaged or deteriorating seals to prevent air leaks and water intrusion.
5. Check for water leaks: Routinely check for water leaks in faucets, toilets, and pipes. Fix any leaks promptly to prevent water damage and conserve water.
6. Trim trees and shrubs: Trim overgrown trees and shrubs away from the house to prevent damage to the exterior and potential hazards during storms. Maintain adequate clearance from power lines as well.
7. Clean and maintain kitchen appliances: Regularly clean and maintain kitchen appliances such as the oven, stovetop, refrigerator, and dishwasher. Follow the manufacturer’s instructions for cleaning and maintenance tasks, such as descaling and replacing filters.
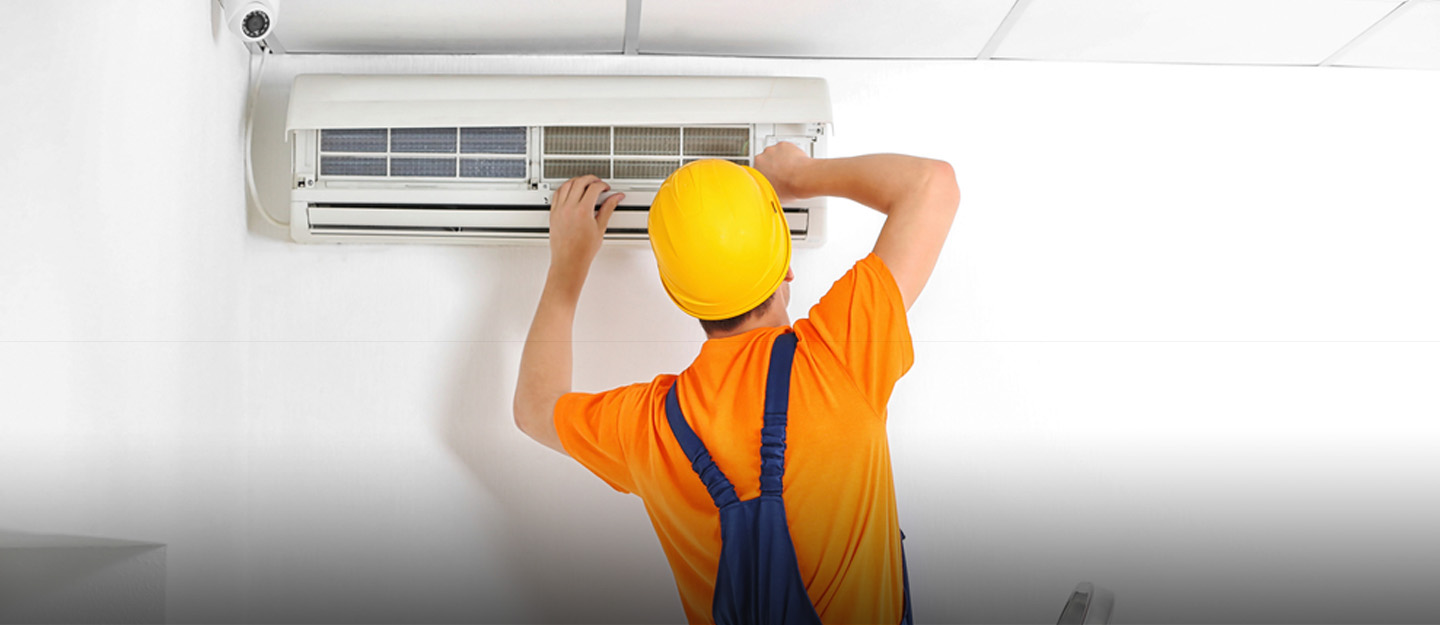
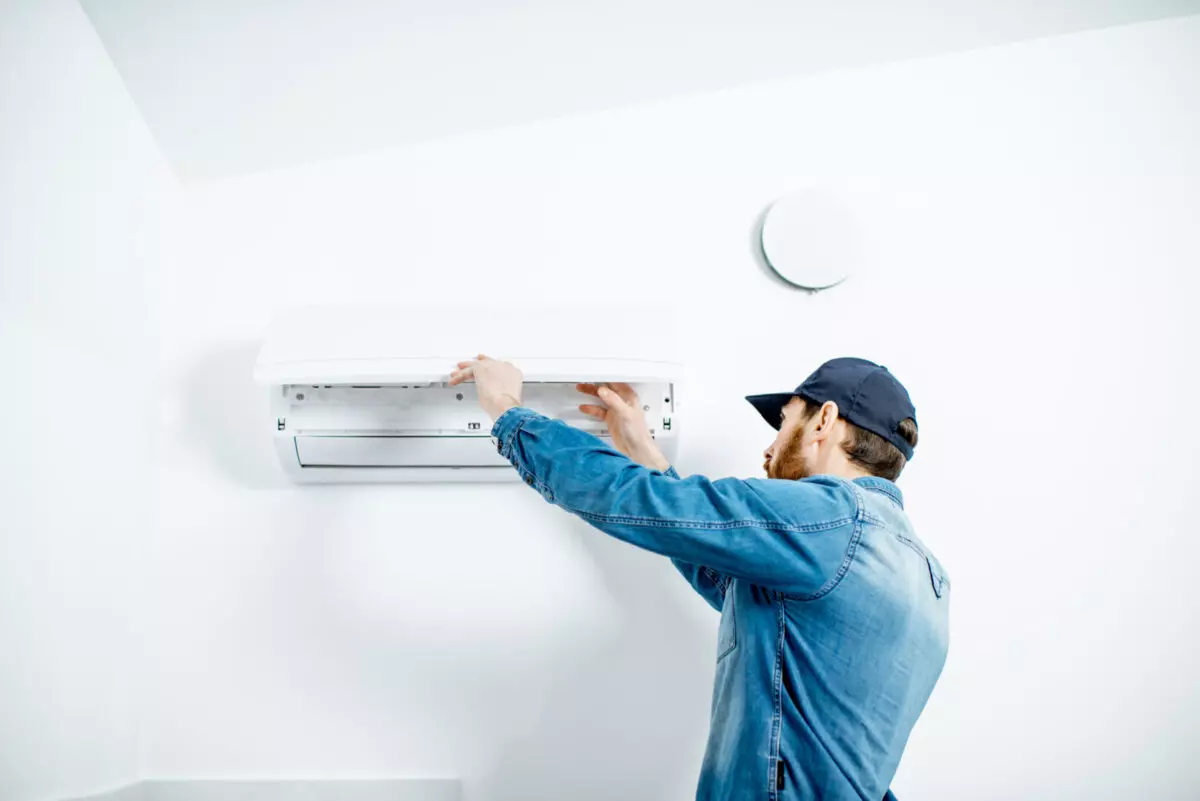
8. Inspect and service the HVAC system: Schedule regular maintenance for your HVAC system. This typically includes professional inspection, cleaning, and servicing to ensure efficient operation and extend the lifespan of the equipment.
9. Clean and organize storage areas: Regularly declutter, clean, and organize storage areas like closets, basements, and garages. This will help prevent pest infestations and make it easier to find and access stored items.
10. Test and maintain electrical outlets and switches: Test electrical outlets and switches to ensure they are functioning properly. Replace any faulty outlets or switches, and consider installing ground fault circuit interrupters (GFCIs) in areas where water is present to ensure safety.
Remember that proper maintenance goes a long way in preventing major issues and costly repairs. In addition to these general tasks, refer to manuals and guidelines for specific maintenance requirements for your home’s various systems and components.
By making household maintenance a priority, you can preserve the value of your home, enhance its efficiency, and ensure a comfortable living environment for you and your family.
As we conclude this guide on home repairs and maintenance, we hope you feel more confident in your ability to tackle a variety of tasks around your home. With the right tools, knowledge, and a proactive mindset, you can save money, prolong the lifespan of your home’s components, and create a space that you can truly be proud of.
Happy repairing and maintaining!
Read more: What Can A Google Home Do
Conclusion:
Congratulations! You have reached the end of “How To Fix Anything: 200 Home Repairs Anyone Can Do.” This comprehensive guide has equipped you with the knowledge and confidence to tackle a wide range of home repairs and maintenance tasks. By following the step-by-step instructions and tips provided, you will be able to save money, enhance the functionality and appearance of your home, and develop valuable DIY skills.
Throughout this guide, we have covered various areas of home maintenance, including basic tools and safety, plumbing repairs, electrical repairs, carpentry repairs, painting and wall repairs, appliance repairs, outdoor repairs and maintenance, and general household maintenance. Each section has provided you with valuable insights, tips, and techniques to help you successfully complete common home repair tasks.
Remember, while this guide strives to provide comprehensive information, there may be situations where professional assistance is necessary. It’s important to prioritize your safety and to recognize when a repair may be beyond your skill level. When in doubt, consult with a qualified professional to ensure that the repair is done correctly and with the utmost safety.
By taking a proactive approach to home maintenance, you can prevent small issues from turning into major problems. Regularly inspecting and addressing minor repairs will save you time, money, and stress in the long run. Additionally, keeping up with maintenance tasks will help maintain the value of your home and create a comfortable and welcoming living environment.
Remember, each repair or maintenance task is an opportunity to learn and grow your DIY abilities. Don’t be afraid to ask for help, do thorough research, and take your time to complete each project. With practice and experience, you’ll develop valuable skills that will benefit you and your home for years to come.
We hope this comprehensive guide has inspired you to take charge of your home’s maintenance and provided you with the confidence to tackle a wide range of repairs. From fixing a leaky faucet and repairing a squeaky floorboard to painting a room and maintaining outdoor spaces, the power to fix anything is in your hands.
Thank you for reading “How To Fix Anything: 200 Home Repairs Anyone Can Do.” We wish you the best of luck in your repair and maintenance endeavors. Here’s to a well-maintained and beautiful home!
Frequently Asked Questions about Popular Mechanics: How To Fix Anything: 200 Home Repairs Anyone Can Do
Was this page helpful?
At Storables.com, we guarantee accurate and reliable information. Our content, validated by Expert Board Contributors, is crafted following stringent Editorial Policies. We're committed to providing you with well-researched, expert-backed insights for all your informational needs.


0 thoughts on “Popular Mechanics: How To Fix Anything: 200 Home Repairs Anyone Can Do”